


How to Fix a Golf Cart Not Charging: 5 Quick Changes
Why Your Golf Cart Not Charging Is a Whole-System Problem
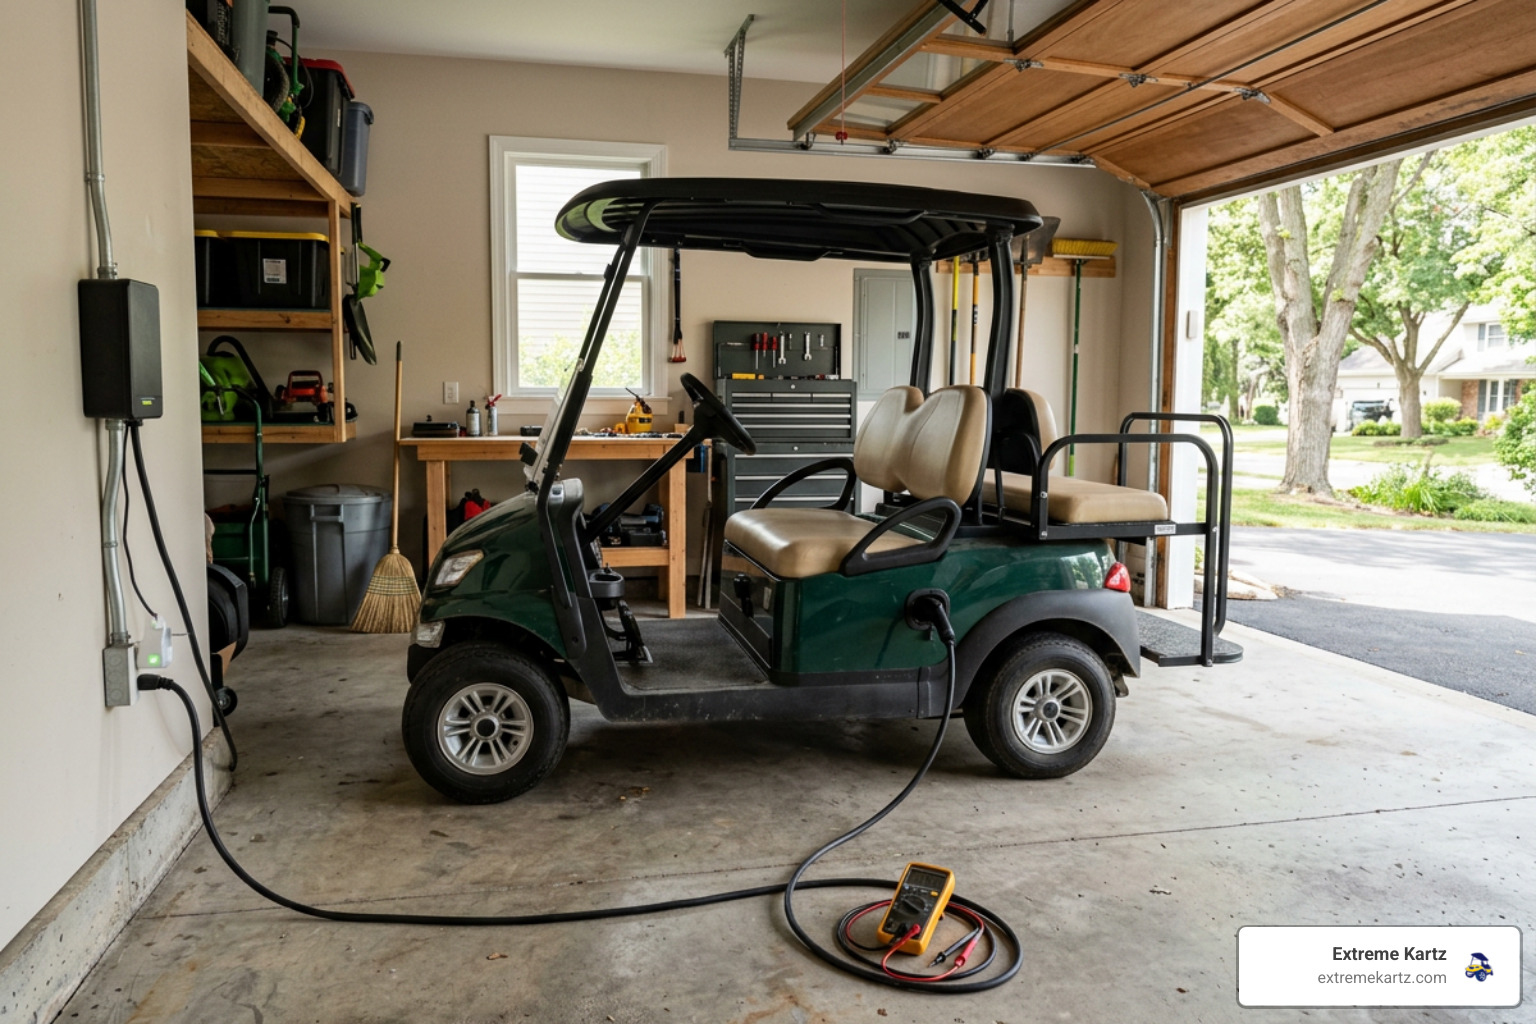
If your golf cart not charging is the problem you woke up to this morning, it is easy to assume the charger itself has failed. However, in my years of helping cart owners, I have found that charging failures are almost always a whole-system issue. Your cart's charging cycle relies on a complex handshake between the batteries, terminal connections, wiring harness, charging port, safety switches, and onboard electronics.
This guide serves as your comprehensive, system-wide diagnostic hub. We will look at how different battery chemistries behave, how to clean stubborn terminal corrosion, and how to identify hidden faults in your solenoid, controller, or wiring.
If your diagnostics point specifically to a broken charger unit, you can find a dedicated, deep-dive troubleshooting guide in our companion post, Golf Cart Battery Charger Not Working.
I'm Martin Davis, owner of Extreme Kartz, and I've helped hundreds of golf cart owners work through a golf cart not charging situation — across lead-acid and lithium systems, Club Car, EZGO, Yamaha, and beyond. Let's get your cart back on the road.
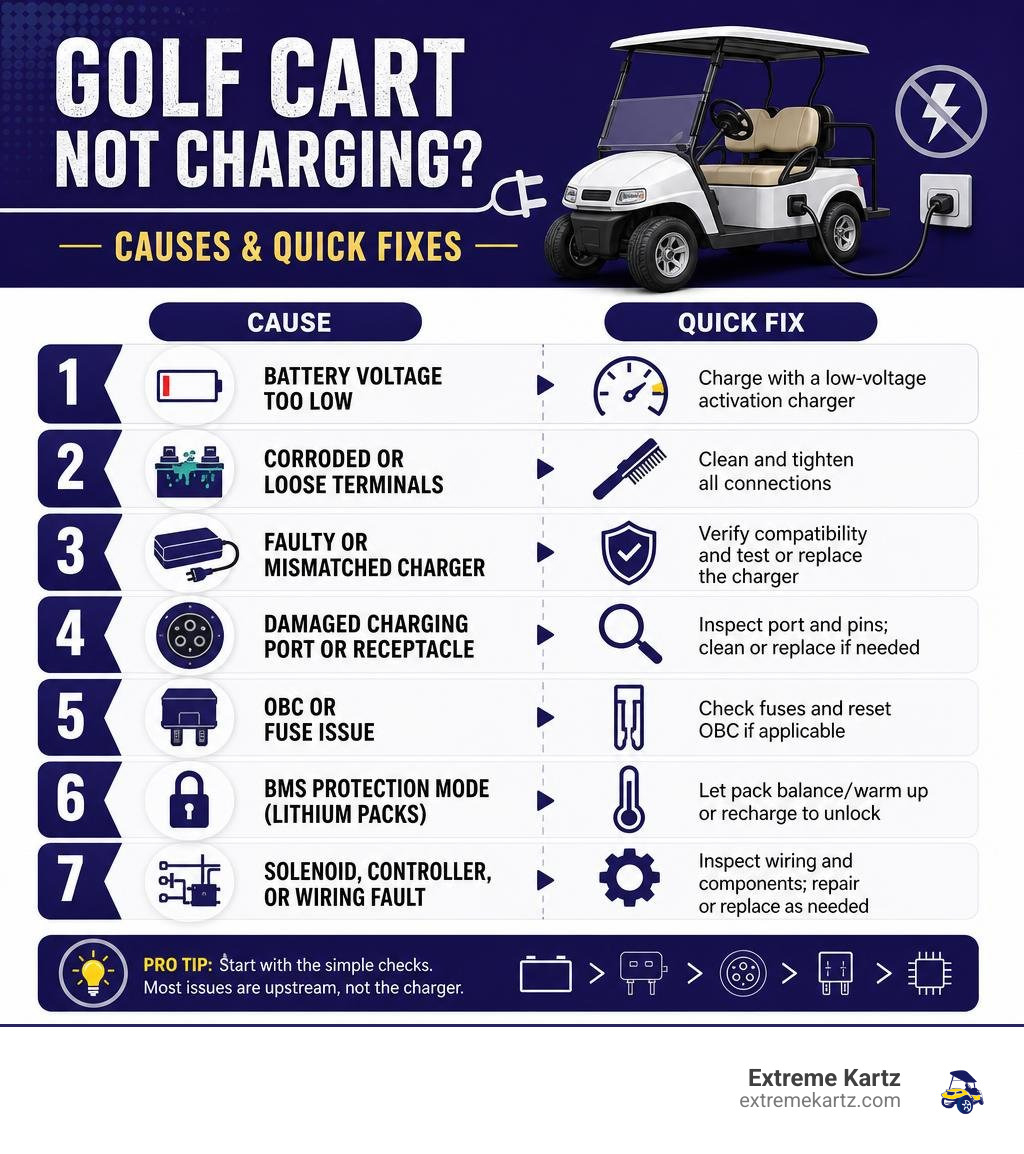
Diagnostic Flowchart: Triage a Golf Cart Not Charging
Before spending money on replacement parts, we need to narrow down where the electrical handshake is breaking. Unlike a standard household appliance, an automatic golf cart charger requires a minimum voltage signal from the battery pack before it will turn on. If the charger does not detect this baseline voltage, it acts completely dead.
To help you diagnose the issue quickly, follow this logical triage path:

AEO-Friendly Cause-to-Fix Diagnostic Hub
Use this quick-reference table to match your symptoms to the correct system component and solution:
| Symptom / System Component | Primary Cause | Quick Fix / Action Step |
|---|---|---|
| Lithium Battery (BMS) | Low-voltage sleep, cold-weather lockout, or cell imbalance. | Wake up sleeping BMS or warm up the pack. |
| Lead-Acid Battery | Voltage dropped below charger activation threshold. | Manually boost the pack with a 12V automotive charger. |
| Terminals & Connections | High resistance from lead sulfate corrosion or loose nuts. | Clean with baking soda/water and torque to 80-100 in-lbs. |
| Charging Port & Receptacle | Worn female pins, corrosion, or failed EZGO reed switch. | Clean contacts, replace receptacle, or bypass the reed switch. |
| Onboard Computer (OBC) & Fuses | Frozen Club Car OBC or blown inline charging fuse. | Perform a manual OBC reset or replace the blown fuse. |
| Solenoid, Controller & Wiring | Welded solenoid contacts, shorted controller, or frayed wires. | Inspect 10-gauge negative wire and test solenoid continuity. |
| Charger Unit | Internal relay failure, blown diodes, or damaged AC/DC cords. | Deep-dive with our Golf Cart Battery Charger Not Working guide. |
Why a Lithium BMS Triggers a Golf Cart Not Charging State
If you have upgraded your cart to a premium lithium pack from trusted brands like Eco Battery, Bolt Energy, Lithium Rhino, or Bedrock Battery, your batteries are managed by an intelligent Battery Management System (BMS).
The BMS is the brain of the battery. It continuously monitors cell voltages, currents, and temperatures. If any parameter falls outside safe limits, the BMS triggers a protective lockout, resulting in your golf cart not charging.
The three most common lithium BMS charging lockouts include:
- Low-Voltage Sleep Mode: If the pack is deeply discharged, the BMS disconnects the terminals to prevent the cells from dropping to a destructive 0V state. When this happens, a standard charger cannot detect any voltage at the port and will not start.
- Cold-Weather Lockout: Lithium Iron Phosphate (LiFePO4) cells cannot safely accept a charge if the internal cell temperature drops below 32°F (0°C). If you try to charge in a freezing garage, the BMS will block the incoming current while still allowing the cart to discharge. For a deeper look at managing this, see our guide on Troubleshooting Lithium Golf Cart Battery Issues: A DIY Guide.
- Cell Imbalance Lockout: In multi-battery series setups (such as four 12V lithium batteries linked together), individual battery packs can drift out of balance. If one battery hits its maximum voltage limit before the others, its individual BMS will shut down the entire charging circuit. This is why we always recommend a single, unified 36V or 48V pack over series-connected 12V lithium options.
If your lithium pack is completely unresponsive, you may need to wake up the sleeping BMS. We have compiled a step-by-step walkthrough to help you do this safely in our guide on How to Jumpstart a Dead Lithium Ion Battery: A Step-by-Step Guide.
How to Resolve a Lead-Acid Golf Cart Not Charging Due to Low Voltage
With traditional lead-acid batteries, the most common reason for a charging failure is a deeply discharged battery pack. Automatic chargers require a minimum voltage handshake before they will activate (typically 20 to 25 volts for 36V systems, and 30 to 35 volts for 48V systems).
If your cart has sat unused, you may need to manually raise the pack voltage just enough for the automatic charger to recognize it. Use a standard 12V automotive charger only with proper safety precautions, charging individual batteries or matched pairs briefly before switching back to the cart's correct golf cart charger.
For detailed safety instructions and ongoing upkeep, read our guide on Understanding Golf Cart Battery Maintenance Tips for Prolonging Battery Life. If testing shows the charger itself is the failing branch, use our dedicated Golf Cart Battery Charger Not Working guide instead.
5 Quick Changes to Fix Your Charging System
Now that we understand the diagnostic flow, let's dive into the five practical, system-wide changes you can make to resolve a golf cart not charging scenario.
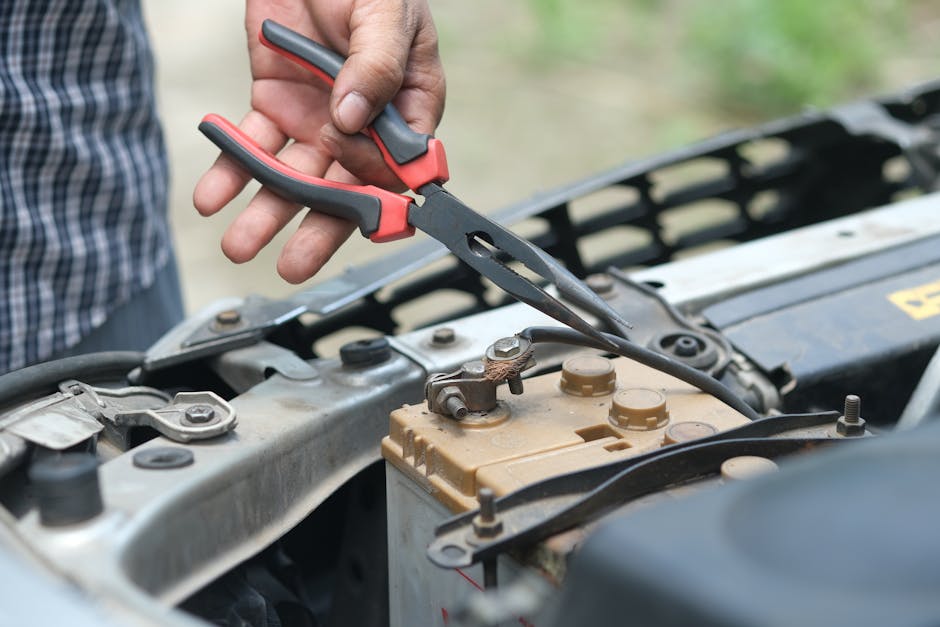
1. Clean and Tighten Battery Terminals and Connections
High electrical resistance is the enemy of any charging system. Over time, lead-acid batteries release corrosive acidic vapors that react with the copper and lead terminals, creating a crusty white, green, or yellow buildup of lead sulfate. This corrosion acts as an insulator, blocking the flow of electricity from your charger into the batteries.
Even if you do not see heavy corrosion, loose connections can cause intermittent charging failures. The heavy vibrations of driving over golf courses or bumpy paths can loosen the terminal nuts, creating tiny gaps that cause high resistance and localized heat.
How to clean and secure your connections:
- Safety First: Put on protective eyewear and heavy rubber gloves. Ensure the charger is unplugged and the cart's run/tow switch is set to "Tow."
- Mix a Cleaning Solution: Dissolve 2 to 3 tablespoons of household baking soda into a quart of warm water.
- Apply and Scrub: Pour the mixture over the corroded terminals. It will bubble as it neutralizes the acid. Use a stiff wire terminal brush to scrub the posts and cable eyelets clean.
- Rinse and Dry: Rinse the area thoroughly with clean water and dry the terminals with a clean rag.
- Torque to Spec: Tighten all terminal nuts using insulated wrenches. For most Club Car and EZGO platforms, the target torque specification is 80 to 100 inch-pounds. Do not overtighten, as you can strip the soft lead battery posts.
- Protect: Apply a thin layer of commercial battery terminal protector spray or dielectric grease to seal out moisture and prevent future oxidation.
Regularly cleaning your terminals is one of the easiest ways to prevent voltage drops. To learn more about routine upkeep, read Understanding Golf Cart Battery Maintenance Tips for Prolonging Battery Life and check out Golf Cart Not Charging [7 Fixes You Can Try] - Impact Battery.
2. Match Your Charger to Your Battery Chemistry
A common mistake we see is using a charger designed for one battery chemistry on a completely different type of battery.
Lead-acid and lithium-ion batteries have fundamentally different charging requirements:
- Lead-Acid Profile: Requires a multi-stage charging curve (bulk, absorption, and float) that slowly steps up the voltage, allows the batteries to gas (which prevents acid stratification), and finishes with a trickle charge.
- Lithium (LiFePO4) Profile: Requires a Constant Current / Constant Voltage (CC/CV) algorithm. It charges at a steady, high current until it reaches the maximum voltage limit (typically 58.4V for a nominal 51.2V pack), at which point it holds the voltage constant while the current drops to zero. Once full, a lithium charger must shut off completely. It must never apply a continuous float or trickle charge, as this can degrade the cells.
Using an old lead-acid charger on a new lithium pack will result in incomplete charging, BMS lockouts, or permanent cell damage. Conversely, a lithium charger cannot properly charge or maintain a lead-acid pack.
If you have upgraded your battery system, you must upgrade your charger to match. You can explore compatibility requirements in our resource: What Charger Do I Need for Lithium Golf Cart Batteries. For additional help identifying mismatch symptoms, refer to Golf Cart Charger Not Working? Here's How to Fix It - FORM Charge.
3. Inspect and Clean the Charging Port and Receptacle
The charging port on your golf cart is exposed to dust, moisture, and frequent mechanical wear. If you notice that your charger plug gets extremely hot during use, or if you have to wiggle the plug to get the charger to start, your receptacle is likely worn or corroded.
Common port issues to look for:
- Loose Receptacle Pins: Over hundreds of plug-in cycles, the female metal contacts inside the cart's port can stretch out, reducing physical contact with the charger plug. This loose fit creates high resistance, generating excessive heat that can melt the plastic housing.
- Corroded Contacts: Moisture can cause oxidation on the brass or copper pins inside the port. Clean them using a specialized electronic contact cleaner and a small nylon brush.
- The EZGO Reed Switch: Older EZGO TXT models feature a small magnetic "reed switch" located inside the charging receptacle. This switch acts as a safety interlock, preventing the cart from driving away while plugged in. If this reed switch fails or gets stuck, it can trick the cart into thinking the charger is still connected, disabling the motor and preventing the charger from starting. For a quick fix, you can temporarily bypass this switch by running a jumper wire from the red wire on the receptacle directly to the main positive battery terminal.
If you suspect your port is failing, you can read our detailed repair steps in Golf Cart Charging Port Problems: Fix Guide (2026) and find troubleshooting tips in Golf Cart Battery Charger Not Working.
4. Check and Reset the Onboard Computer (OBC) or Fuses
If you drive a 48V Club Car model manufactured prior to 2014, your cart may use an Onboard Computer (OBC) to regulate the charging cycle. When the OBC glitches, it can interrupt the charging circuit and make a healthy charger act like it is dead.
For this broad diagnostic hub, the main takeaway is simple: set the cart to TOW, disconnect the main negative battery cable for 10 to 15 minutes, reconnect it, then plug the charger back in and listen for the relay to engage. If the charger still will not start, move to OBC bypass testing instead of replacing random parts.
Also check the physical fuses on the charging circuit. Many carts use a dedicated 10A or 15A inline fuse, or a fuse near the charging receptacle, to protect the system from power surges. If this fuse is blown, the charger cannot receive the wake-up signal from the batteries.
For the full OBC bypass process, fuse locations, and charger-side diagnostics, use our comprehensive guide: Golf Cart Battery Charger Not Working or review Golf Cart Won't Charge: 6 Exact Causes And How To Fix Them.
5. Diagnose Solenoid, Controller, and Wiring Faults
Sometimes, a golf cart not charging is caused by a deeper electrical issue within the cart's drive system. The batteries, solenoid, controller, and charging port are all interconnected. If a component is damaged, it can create a parasitic draw that drains the batteries faster than the charger can replenish them, or it can physically break the charging circuit.
- The Solenoid: This heavy-duty electromagnetic switch acts as the main gatekeeper of power between your battery pack and the motor controller. If the internal contacts of your solenoid weld together or fail to close, it can disrupt the electrical path or cause a continuous current drain that pulls your battery pack voltage down below the charger's activation threshold.
- The Controller: A damaged motor controller can develop an internal short circuit, drawing current even when the key switch is turned off. This parasitic draw can drain your batteries overnight.
- Wiring Harness Damage: Inspect the 10-gauge black wire running from the back of the charging receptacle through the OBC (on Club Car models) or directly to the controller's main negative terminal. If this wire is frayed, pinched, or poorly crimped, the charger cannot complete its circuit.
If you suspect a deeper controller or solenoid failure is affecting your electrical system, we recommend checking out the replacement options and wiring harnesses available at Shop Extreme Kartz Parts & Accessories or reading Fix a Golf Cart Charger Not Working: EZGO, Club Car & Yamaha.
Deep-Dive: Is the Charger Itself Faulty?
If you have verified that your battery pack voltage is healthy, your connections are clean, and your charging port is intact, the issue may lie within the charger itself.
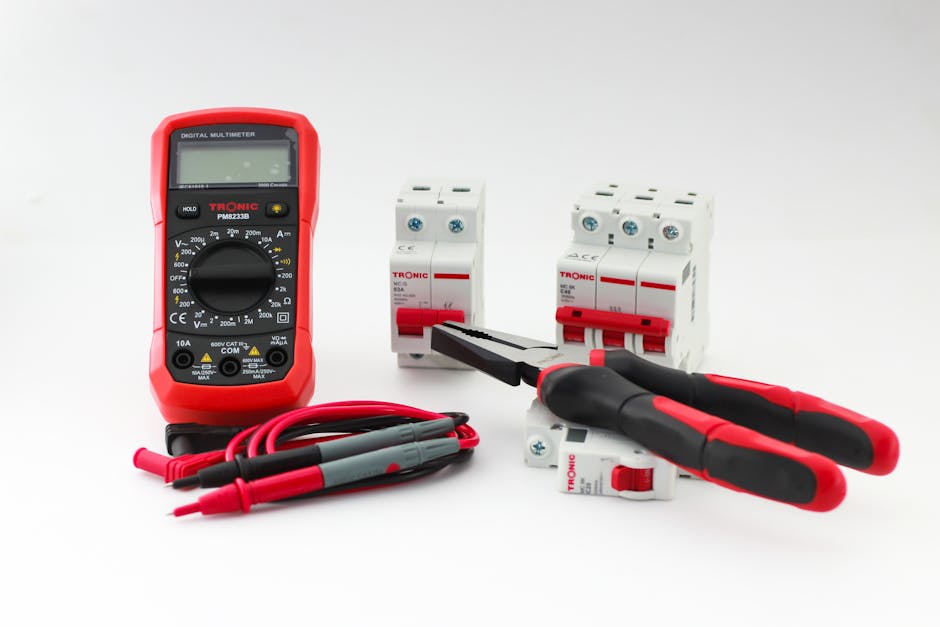
To isolate the charger, we recommend using a digital multimeter to test both the input and output sides of the unit:
- Check AC Input: Verify that your wall outlet is active. Plug a known working device (like a power tool) into the outlet, or use your multimeter to confirm you have 120V AC at the wall.
- Check DC Output Continuity: Set your multimeter to the continuity or resistance (Ohms) setting. Test the pins on the charger's DC plug. If you have an older charger with a mechanical relay, you should see an open circuit (no continuity) until the relay is magnetically closed by the battery pack's voltage signal.
- Listen for the Relay "Click": When you plug the charger into your cart, you should hear a distinct physical click from inside the charger after 3 to 5 seconds. If you hear no click, the charger is not receiving the wake-up signal from the receptacle, or the internal control board has failed.
- Perform a Charger Swap: The fastest way to isolate a faulty charger is to plug your charger into a neighbor's cart of the same voltage, or try their working charger on your cart.
If your charger is old, has a humming transformer but zero output on the ammeter, or has damaged internal diodes, it is often more cost-effective to replace it with a modern, high-efficiency smart charger rather than attempting expensive component repairs.
For a complete, step-by-step breakdown of internal charger diagnostics, component testing, and repair-vs-replace decisions, read our dedicated guide: Golf Cart Battery Charger Not Working.
Frequently Asked Questions about Golf Cart Charging
Can I leave my lithium golf cart battery plugged in all the time?
Yes, but only if you are using a modern smart charger specifically programmed for lithium chemistry. Unlike older lead-acid chargers that can dry out batteries by constantly trickling power, a dedicated lithium charger will run its cycle and then shut off completely.
The integrated BMS on premium packs from Eco Battery or Bolt Energy will monitor the cells and safely manage the connection. To learn more about proper storage habits, read Can I Leave My Lithium Golf Cart Battery Plugged In.
Why won't my golf cart charge in freezing weather?
If you are running lithium batteries, this is a built-in safety feature known as cold-weather lockout. Charging lithium cells below 32°F (0°C) causes a phenomenon called "lithium plating," which permanently damages the battery's internal structure and can cause a short circuit.
If your garage drops below freezing during the winter, you must warm the battery pack above freezing before the BMS will allow it to accept a charge.
For winter storage tips and battery care advice, read The Truth About Charging Golf Carts in Freezing Weather and How to Take Care of Your Lithium Golf Cart Battery in the Winter.
Should I charge my golf cart after every single use?
Yes, especially if you have lead-acid batteries. Lead-acid batteries suffer from "sulfation" if left in a partially discharged state, which permanently reduces their capacity and lifespan.
Lithium batteries are much more resilient and do not suffer from memory issues, but charging them regularly ensures your pack remains balanced and ready for use.
For a deeper look at optimization and depth of discharge, see Should I Charge My Lithium Battery After Every Use.
Conclusion
Resolving a golf cart not charging issue does not have to be an expensive guessing game. By taking a systematic, whole-system approach — checking your battery voltage, cleaning your terminals, verifying your port connections, and ensuring your charger matches your battery chemistry — you can easily diagnose and resolve the vast majority of charging issues right in your own garage.
At Extreme Kartz, we specialize in helping you find the right system-based upgrades for your specific cart model. Whether you are looking to replace a worn-out charger, upgrade your cables, or make the transition to a high-performance lithium battery system, we are here to guide you every step of the way.
Ready to upgrade your cart's charging performance or battery system? Explore our premium selection of compatible chargers, accessories, and lithium conversion kits at Shop Extreme Kartz Parts & Accessories.
Related Products


Vendor: SG-720 Charger, CC 48V PowerDrive

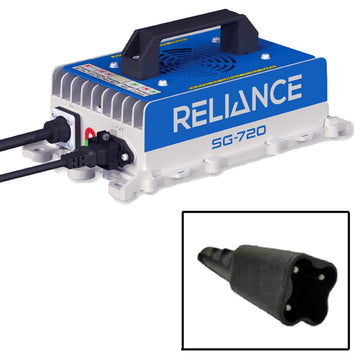
Vendor: SG-720 Charger, Yam 48V G29/Drive/Drive2


Vendor: Eco Battery 48V 105Ah Thru-Hole Bundle - Select your Cart

Vendor: DC Receptacle, Club Car Precedent 48V 08+


