


How to Fix Golf Cart Battery Charger Not Working
Why Your Golf Cart Battery Charger Is Not Working (And How to Fix It Fast)
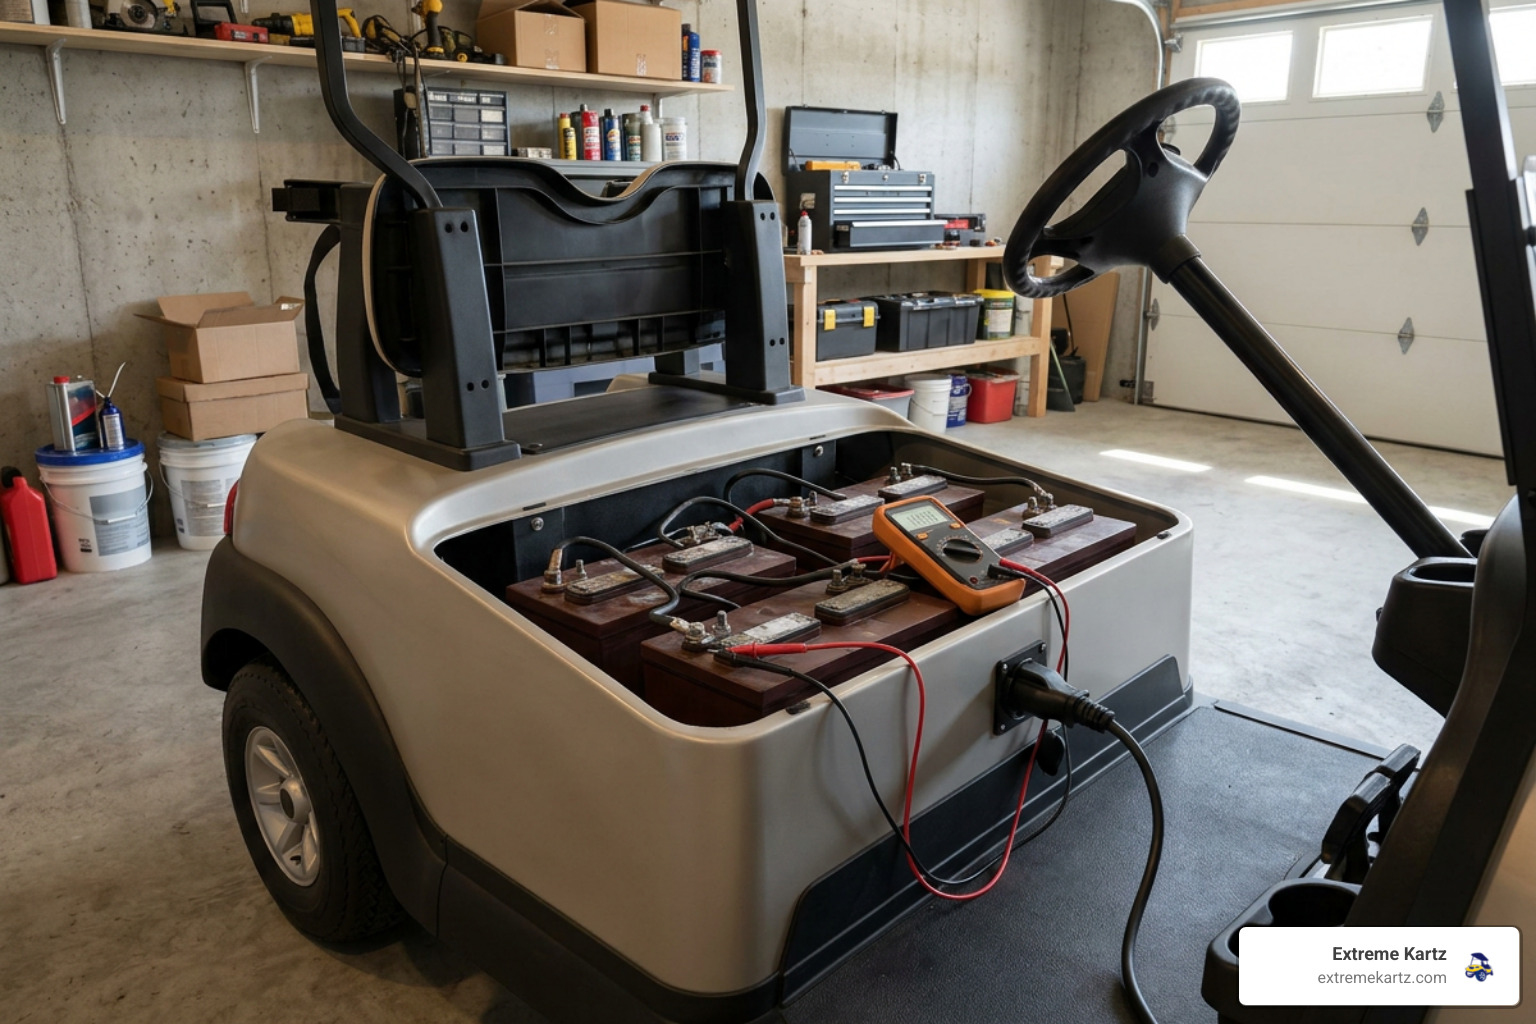
If your golf cart battery charger is not working, here are the most common reasons and what to check first:
| Cause | Quick Check |
|---|---|
| Battery pack voltage too low | Measure total pack voltage — 48V system needs at least 30-35V to trigger charger |
| Faulty or corroded receptacle | Inspect charging port for heat damage, loose pins, or corrosion |
| Blown fuse | Check inline fuse on charger circuit and receptacle fuse for continuity |
| OBC (Club Car only) blocking charge | Reset OBC by disconnecting the main negative battery cable for 30 seconds |
| Bad wall outlet or tripped breaker | Test the outlet with another device first |
| Dead or sulfated batteries | Individually charge each battery to raise pack voltage, then retry |
| Internal charger failure | Test DC output with a multimeter — no output means the charger itself may be bad |
The most important thing to know upfront: your charger is often not the real problem. In many cases, the issue is low battery voltage, a worn receptacle, or a single failing battery pulling the whole pack down. Replacing the charger before checking these first is one of the most common and costly mistakes golf cart owners make.
A lot of owners return from winter storage, plug in the charger, and get nothing. No lights. No hum. No activity at all. The cart was fine before. The charger looks fine. But the batteries slowly lost voltage while sitting unused, dropping below the threshold the automatic charger needs to even recognize the pack and start a charge cycle. That one fact alone explains a huge percentage of "dead charger" calls.
This guide will walk you through every real cause, from the simple stuff (outlet, fuse, connections) to the more involved fixes (OBC bypass, multimeter testing, manually waking up deeply discharged batteries).
I'm Martin Davis, owner of Extreme Kartz, and I've worked through hundreds of golf cart battery charger not working cases with customers across the country — from straightforward connection fixes to full OBC bypasses on aging Club Cars. Let's get your cart charging again.
Troubleshooting a Golf Cart Battery Charger Not Working
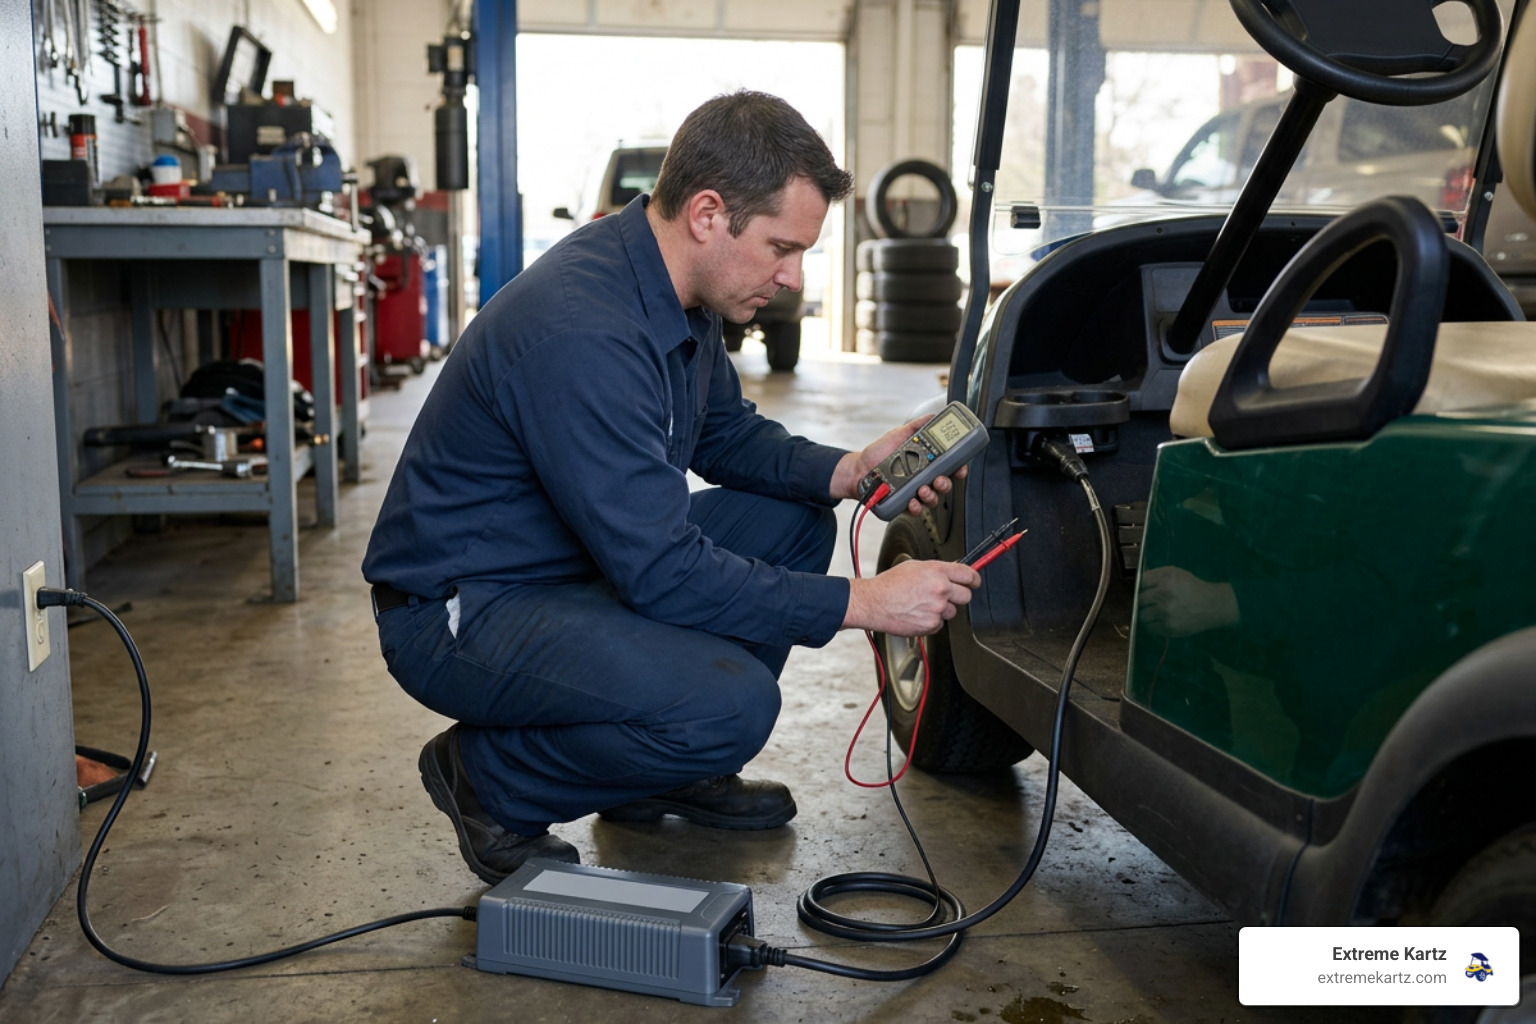
When your charger refuses to turn on, we always recommend starting with a logical, step-by-step diagnostic sequence. This keeps you from spending money on replacement parts you don’t actually need.
1. Confirm the Power Source (AC Input)
Before tearing into your golf cart, test the wall outlet. Plug a lamp, power drill, or phone charger into the same socket you are using for the charger. If there is no power, check your home’s circuit breaker or GFCI outlet. It is surprisingly common for a heavy-duty charger to trip a garage GFCI circuit. If you must use an extension cord, make sure it is a heavy-duty, 10- or 12-gauge cord; thin household extension cords cause voltage drops and overheating, which can prevent the charger from starting.
2. Inspect the Charger Plug and Cart Receptacle
Look closely inside the charger plug and the cart’s charging receptacle. Are the pins corroded, bent, or covered in dirt? Does the plug feel loose or "wobbly" when you insert it?
If the charger only kicks on when you wiggle the plug or hold it at a specific angle, the receptacle contacts are worn and losing tension. Over time, loose contacts create high electrical resistance. This resistance generates intense heat, which can melt the plastic housing of the receptacle or plug. If you notice a burnt plastic smell or the handle is too hot to touch, stop using it immediately. For a deeper look at related charging-port symptoms, see our guide on How to Troubleshoot Common Golf Cart Electrical Issues.
3. Check the Charger Fuses and Wiring
Most golf cart charging circuits are protected by fuses.
- Cart Receptacle Fuse: Many carts have an inline fuse on the wires running from the back of the charging receptacle directly to the battery pack. If this fuse is blown, the charger cannot "see" the batteries, and it will not turn on.
- Charger Internal Fuse: Classic chargers (like the EZGO Powerwise) often have a visible 50-amp buss fuse behind a clear window on the front panel. If the metal strip inside is broken, the charger is dead.
If you want to understand how these basic electrical pathways interact, check out our comprehensive walkthrough on How to Troubleshoot Common Golf Cart Electrical Issues. If you want to rule out other system-wide causes first, read about the 6 Exact Causes And How To Fix Them.
Diagnosing the Culprit: Charger vs. Battery Pack
How do you determine if you have a bad charger or a bad battery pack? Because automatic chargers require a handshake signal from the batteries to start, a dead battery pack will make a perfectly good charger behave as if it is completely broken.
Use this symptom table to help isolate the problem:
| Symptom | Most Likely Culprit | Diagnostic Test |
|---|---|---|
| Charger shows no lights, no hum, and no relay "click" when plugged into the cart. | Battery Pack or Receptacle | Test total pack voltage at the receptacle. If it is below the threshold, the charger cannot turn on. |
| Charger clicks once, hums briefly, then shuts off after a few seconds/minutes. | Battery Pack (Bad Cell) | Measure individual battery voltages. A single bad cell will cause voltage to spike or drop rapidly, shutting down the charger. |
| Charger turns on, hums loudly, but the batteries never charge and the charger gets extremely hot. | Charger (Failed Diode/Capacitor) | Test charger DC output with a multimeter. A bad internal diode will prevent proper DC current delivery. |
| Cart runs for only 5–10 minutes after what seemed like a full charging cycle. | Battery Pack (Sulfation/Age) | Perform a load test on the battery pack. Sulfated lead-acid batteries cannot hold a charge under load. |
The Minimum Voltage Threshold Rule
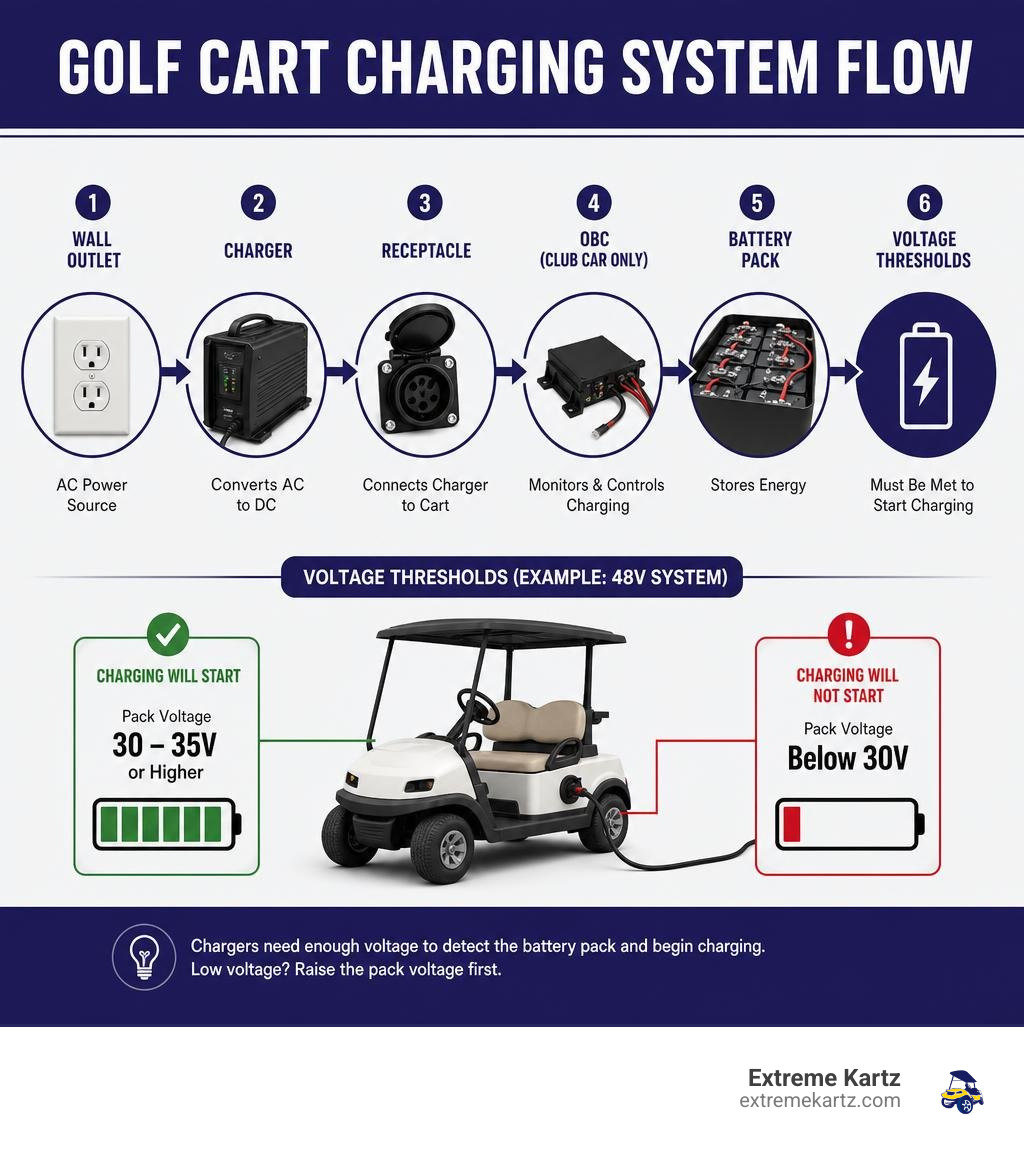
Modern automatic golf cart chargers are designed with safety in mind. To prevent charging a damaged or shorted battery pack, they will not activate unless they detect a minimum baseline voltage.
- 36-Volt Systems: Typically require at least 20 to 25 volts to turn on.
- 48-Volt Systems: Typically require at least 30 to 35 volts to turn on.
If your cart has been sitting idle for months, lead-acid batteries will self-discharge. Once the pack drops below these thresholds, your charger will remain completely unresponsive. For owners of modern lithium setups, a similar issue can occur if the Battery Management System (BMS) triggers low-voltage cutoff protection. To troubleshoot these modern packs, refer to our Troubleshooting Lithium Golf Cart Battery Issues: A DIY Guide.
How to Test a Golf Cart Battery Charger Not Working with a Multimeter

To get a definitive answer, grab a digital multimeter and perform these two quick tests:
-
Test the Battery Pack Voltage at the Receptacle:
- Set your multimeter to DC Volts (200V scale).
- Place the red probe on the positive terminal contact inside the cart's charging receptacle and the black probe on the negative contact.
- If the reading is lower than the minimum voltage threshold (e.g., under 30V on a 48V cart), your charger is fine, but your batteries are too flat to wake it up.
-
Test the Charger's DC Output:
- Unplug the charger from both the wall and the cart.
- Plug the charger only into the wall. (Note: Most smart chargers will not output voltage until they sense batteries, but older manual chargers or certain smart models with a manual override will show output).
- For standard chargers, the best way to test output is to measure battery voltage while the charger is running. Touch your multimeter probes to the main positive and negative terminals of the battery pack.
- The Reading: If the pack is at 48V at rest, the voltage should gradually rise to 54V–60V once the charger engages. If the voltage does not rise at all when the charger is plugged in, the charger is not delivering current.
Step-by-Step Fixes for Common Charging Issues
How to Manually Charge Deeply Discharged Batteries
If your battery pack voltage has dropped below the charger's activation threshold, you must "wake up" the pack by boosting the voltage manually.
- Identify Battery Voltages: Determine if your cart uses 6V, 8V, or 12V batteries.
- Use an Automotive Charger: Get a standard 12V automotive battery charger.
-
Charge Individually or in Pairs:
- If you have 12V batteries, connect the automotive charger directly to one battery at a time. Charge each for 20–30 minutes.
- If you have 6V batteries, connect the automotive charger across two batteries connected in series (positive of the charger to the positive of Battery A, negative of the charger to the negative of Battery B). Charge each pair for 20–30 minutes.
- If you have 8V batteries, you can still use a 12V charger on a low-amp setting (2A to 10A max) for a short period (10–15 minutes per battery) to raise the voltage. Monitor them closely so they do not overheat or boil.
- Recheck Pack Voltage: Once the total pack voltage is above the threshold (over 32V for a 48V cart), plug your main golf cart charger back in. It should click on and finish the job.
That cold weather can also severely impact how well flat batteries accept a charge. If you are troubleshooting in the winter, read our guide on The Truth About Charging Golf Carts in Freezing Weather.
Bypassing the Club Car On-Board Computer (OBC)
If you own a 48V Club Car DS or Precedent built between 1995 and 2014, your charging is controlled by an On-Board Computer (OBC). The OBC monitors battery usage and tells the charger when to turn on and off. When the OBC fails, it often locks up and prevents the charger from activating.
To test if a bad OBC is causing your golf cart battery charger not working issue, you can temporarily bypass it.
Always wear safety glasses and gloves when working near batteries.
- Locate the Charging Receptacle: Look at the back of the receptacle inside the battery compartment.
- Identify the Gray Sense Wire: Locate the thin gray wire coming from the back of the receptacle. This wire contains an inline 3/8-amp fuse.
-
Perform the Bypass:
- Disconnect the gray wire from its yellow bullet connector.
- Run a new 12-gauge jumper wire from the receptacle side of that gray wire directly to the main negative terminal of the entire battery pack (the terminal that connects to the cart's motor/controller).
- Plug in the Charger: If the charger turns on after you connect this jumper, your OBC has failed and needs to be bypassed permanently or replaced.
Note: If you permanently bypass the OBC, you must use a modern smart charger with its own automatic shut-off circuit, otherwise you will overcharge and destroy your batteries.
Resolving EZGO Reed Switch and Yamaha Plug Issues
EZGO and Yamaha carts have their own unique failure points that mimic a dead charger.
- The EZGO Reed Switch: On older EZGO TXT models (specifically those using the 36V Powerwise system), there is a small magnetic safety "reed switch" located inside the charging receptacle. This switch prevents the cart from driving away while plugged in. If this switch fails or gets corroded, it can cut off the signal to the charger entirely, or keep the cart from running even after you unplug it. Bypassing this switch by connecting the red wire directly to the positive battery source is a common diagnostic trick.
- Yamaha 3-Pin Connector Wear: Yamaha 48V carts often use a 3-pin plug. The third pin acts as a control wire. If this pin gets bent or corroded, the charger will not receive the "handshake" signal. Clean these pins with electrical contact cleaner and a small wire brush to restore the connection.
When to Repair vs. Replace Your Charger
If you have confirmed that the wall outlet, receptacle, fuses, and battery pack are all functioning, but the charger still refuses to work, you are dealing with an internal charger failure.
When to Repair
- Blown Fuses: Replacing an internal or external fuse is cheap and easy.
- Damaged Cables/Plugs: If a dog chewed the DC cord or the plug is cracked, you can easily buy a replacement cord set and wire it in.
- Failed Relays: If you hear no "click" inside an older charger but the batteries have plenty of voltage, the internal control relay may simply need replacing.
When to Replace
- Failed Transformer or Control Board: On older manual chargers, a failed transformer is heavy and expensive to replace. On modern chargers, a fried main control board usually costs almost as much as a brand-new unit.
- Upgrading to Lithium: If you are planning to upgrade your cart's performance and range with a lithium battery conversion (using premium, approved brands like Bolt Energy, Eco Battery, Lithium Rhino, or Bedrock Battery), your old lead-acid charger will not work. Lithium batteries require a completely different charging profile to balance cells and charge safely.
Frequently Asked Questions
Why is my golf cart battery charger not working after winter storage?
During winter storage, lead-acid batteries self-discharge over time. If they are left unplugged, their voltage will eventually drop below the charger's minimum activation threshold (typically 30-35V for a 48V system). Additionally, cold temperatures lower the batteries' charge acceptance and accelerate sulfation — the buildup of lead sulfate crystals on the plates — which permanently reduces capacity.
If you have upgraded to a lithium setup, you might wonder about storage habits. Check out our guide: Can I Leave My Lithium Golf Cart Battery Plugged In.
Can a bad battery prevent a golf cart battery charger from working?
Absolutely. Because golf cart batteries are wired together in a series "string," the entire pack is only as strong as its weakest link. If a single battery has a dead or shorted cell, it will drag down the total pack voltage. This prevents the pack from reaching the minimum voltage threshold required to trigger the charger's automatic start circuit.
To keep your pack healthy, read our advice on Should I Charge My Lithium Battery After Every Use.
How do I reset my golf cart charger?
To reset a modern smart charger, perform a hard power cycle. Unplug the charger from the DC receptacle on the golf cart first, then unplug the AC power cord from the wall outlet. Wait 10 to 15 minutes. This allows the internal capacitors inside the charger to completely discharge and resets the onboard microprocessor. When plugging it back in, always plug the charger into the cart's DC receptacle first, then plug the AC cord into the wall.
Conclusion
A golf cart battery charger not working can be incredibly frustrating, but in most cases, the solution lies in systematic troubleshooting rather than buying an expensive new unit right away. By checking your wall outlet, measuring your battery pack’s resting voltage, and inspecting your charging receptacle for wear, you can easily pinpoint the root cause of the issue.
If you have run through these steps and determined that your old charger has run its course — or if you are ready to upgrade your cart with a high-performance lithium battery system from industry leaders like Bolt Energy, Eco Battery, Lithium Rhino, or Bedrock Battery — we are here to help.
At Extreme Kartz, we specialize in complete, system-based upgrade solutions. We can help you select the exact charger and battery combination guaranteed to fit your Club Car, EZGO, or Yamaha, or you can reach out to our team today to find the perfect setup for your cart.
Related Products

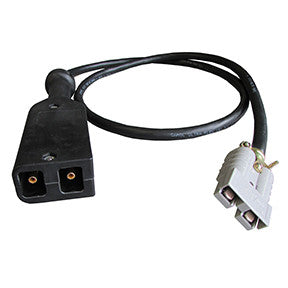
Vendor: ChargePlus Universal Golf Cart Battery Charger - 20 Amp High Speed


Vendor: RELIANCE™ EZGO RXV/TXT/Express 48V Lead-Acid Battery Charger SG-720

Vendor: Charge Meter, 48V Horizontal Digital

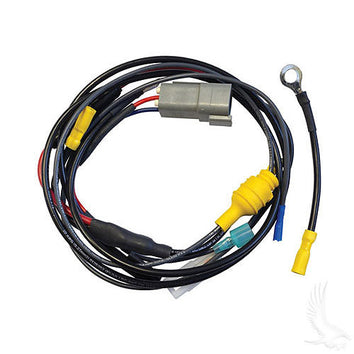
Vendor: Admiral Club Car IQ On Board Computer Bypass


