


How to Check Golf Cart Battery Health in 5 Simple Steps
Tools and Safety Precautions Before Checking Golf Cart Batteries
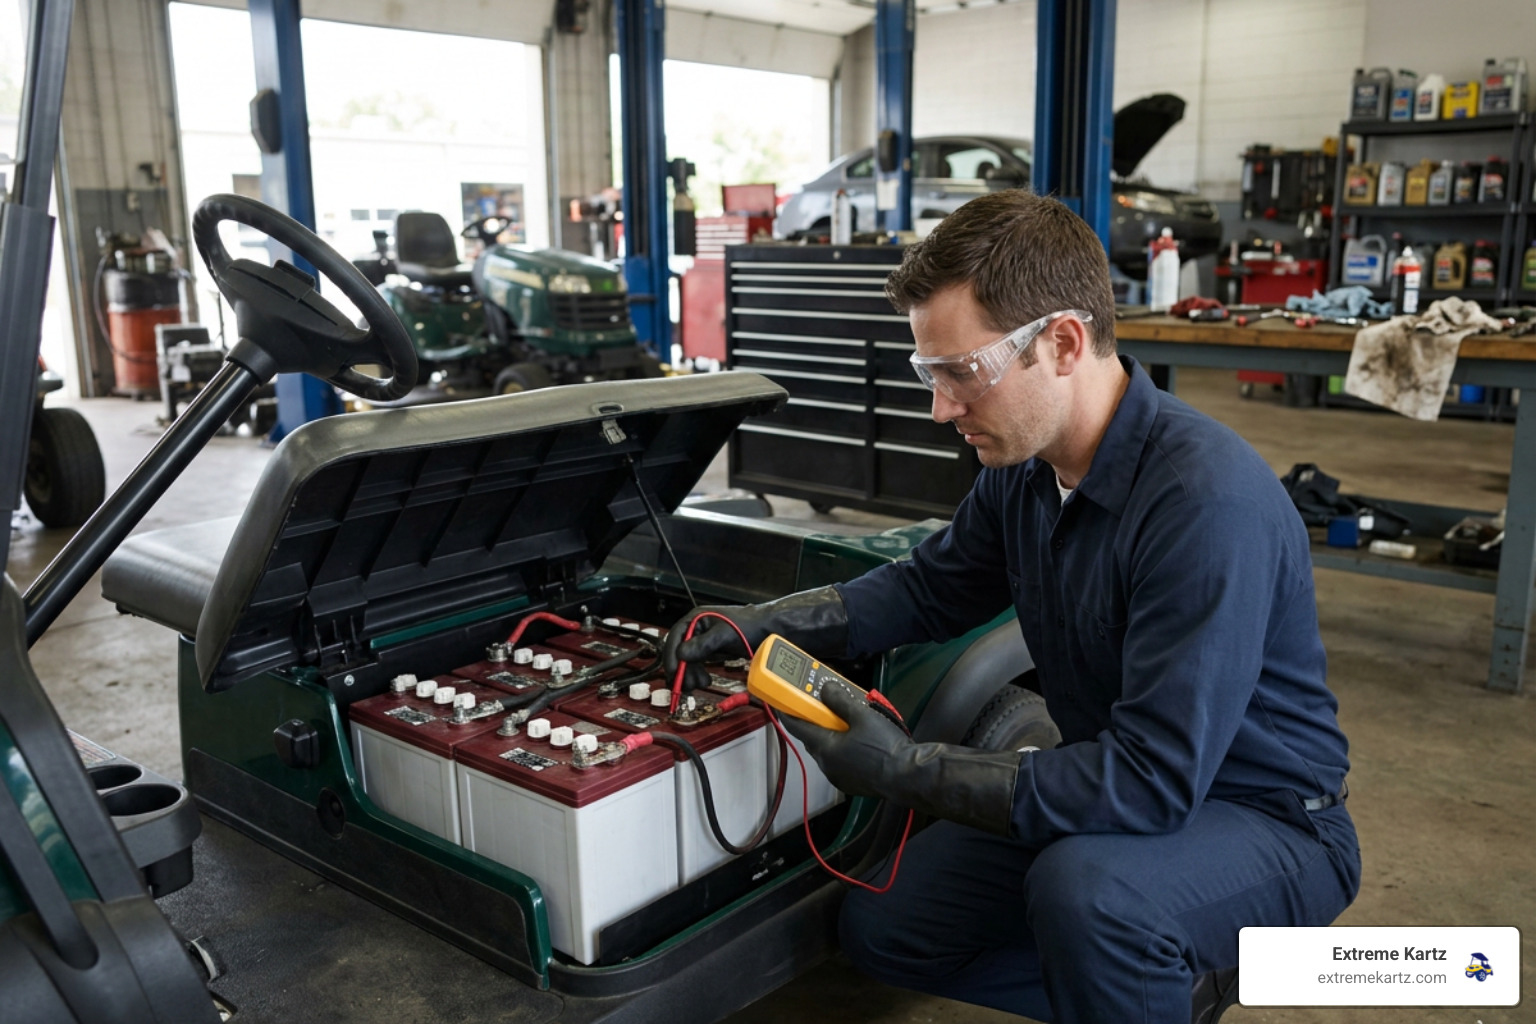
Working around battery systems requires standard safety steps. Lead-acid batteries contain a mixture of water and sulfuric acid that emits hydrogen gas during charging. Lithium batteries store significant electrical energy. Taking simple precautions keeps you safe while checking golf cart batteries.
Before touching any terminals or opening cell caps, gather the right personal protective equipment:
- Safety Goggles or Glasses: Protects your eyes from liquid splatters, dirt, or accidental sparks.
- Acid-Resistant Rubber Gloves: Keeps raw electrolyte off your skin during fluid level checks.
- Baking Soda Neutralizer: Mixing a few tablespoons of baking soda in warm water gives you an immediate solution to neutralize accidental acid spills or scrub away heavy terminal oxidation.
- Insulated Hand Tools: Prevents accidental electrical short circuits across positive and negative posts.
You will also need a few basic diagnostic tools:
- Digital Multimeter: Reads direct current (DC) voltage to check resting state of charge.
- Battery Hydrometer: Measures liquid electrolyte specific gravity in flooded lead-acid cells.
- Carbon Pile or Resistor Load Tester: Applies a temporary load to evaluate real-world voltage drop.
- Wire Terminal Brush: Removes oxidation and corrosion from posts and cable connectors.
Always disconnect any charger cord, turn off the golf cart key switch, and switch the Tow/Run switch under the seat to the Tow position prior to testing.
Step 1: Conduct a Thorough Visual Inspection
A thorough visual check is the fastest way to spot obvious battery failure before picking up a meter. Over time, road vibration, heat, and charging cycles cause physical wear to battery trays, plastic cases, and wiring.
Begin by inspecting the outer battery casings. Look closely for hairline fractures, bulging sidewalls, or cracked plastic near the terminal posts. Case distortion typically stems from excessive heat or internal short circuits. Next, check the battery hold-down brackets. Loose brackets allow heavy batteries (which average around 60 lbs each) to shift during transit, damaging internal lead plates.
Inspect all heavy-gauge interconnecting cables. Connectors should be snug and clean. Loose connections create electrical resistance, generating heat that can melt terminal posts.
Visual Warnings When Checking Golf Cart Batteries for Damage
During your visual check, watch out for these red flags:
- Crusty White or Blue Terminal Corrosion: Acid fumes reacting with copper connectors form lead sulfate crust. Clean terminals using your baking soda solution and a wire brush.
- Sulfur or "Rotten Egg" Odor: Strong sulfur smells indicate an overcharged battery boiling off fluid or an internal thermal runaway condition.
- Exposed Lead Plates: Open flooded cell vent caps and look inside. If the internal lead plates are exposed to air above the liquid line, the cell is starving for water. Plates exposed to air sulfation lose capacity permanently.
- Fluid Leaks in the Battery Tray: Acid pooling below the batteries signals a cracked case or overfilling prior to charging.
Step 2: Measure Resting Voltage with a Multimeter
Static open-circuit voltage indicates state of charge, but only when measured under true resting conditions. Measuring voltage immediately after unplugging a charger yields artificially high readings caused by "surface charge" on the battery plates.
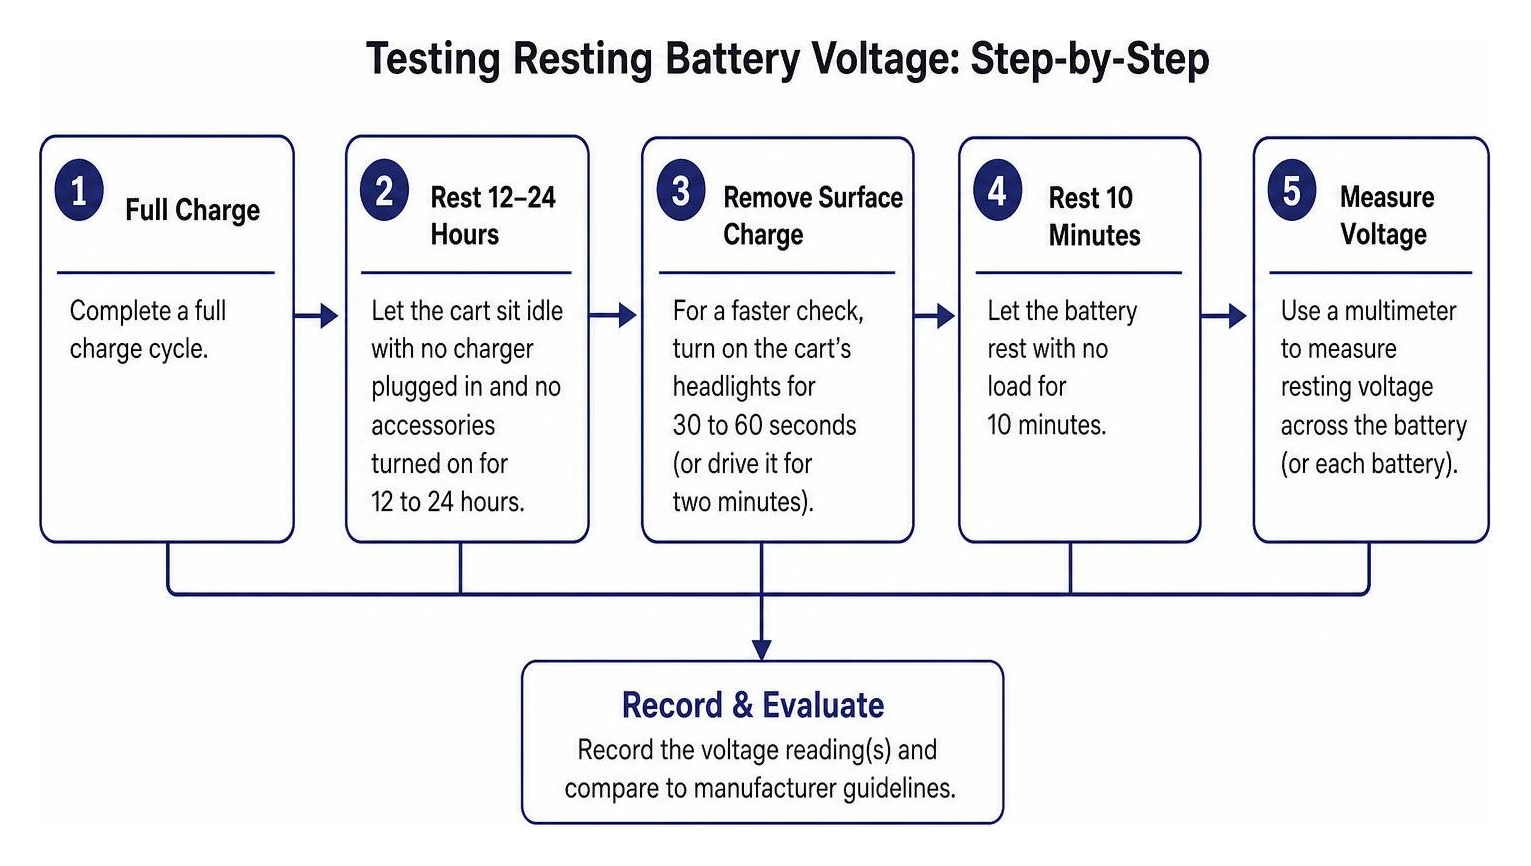
To remove surface charge:
- Complete a full charge cycle.
- Let the cart sit idle with no charger plugged in and no accessories turned on for 12 to 24 hours.
- If you need a faster check, turn on the cart's headlights for 30 to 60 seconds (or drive it for two minutes) to discharge the surface layer, then let it rest for 10 minutes.
To test voltage with a multimeter:
- Turn the multimeter dial to DC Volts (indicated by a solid line over a dashed line, set to the 20V or 200V scale).
- Touch the red probe to the battery's positive (+) terminal and the black probe to the negative (-) terminal.
- Record the individual voltage for each battery in the tray.
- Measure total pack voltage by placing probes across the main positive terminal of the first battery and main negative terminal of the last battery in the series chain.
Interpreting Multimeter Voltage Readings for 6V, 8V, 12V, 36V, and 48V Systems
A healthy, fully charged lead-acid battery reads higher than its nominal nameplate rating. For instance, a 48V system reads ~50.9V when 100% full, whereas a reading of 48.0V actually indicates a 50% discharged state.
| System / Battery Type | 100% Full Charge (Resting) | 75% Charge | 50% Charge | Discharged / Critical |
|---|---|---|---|---|
| 6-Volt Battery | 6.37V – 6.50V | 6.22V | 6.05V | < 5.95V |
| 8-Volt Battery | 8.49V – 8.60V | 8.28V | 8.07V | < 7.90V |
| 12-Volt Battery | 12.73V – 12.90V | 12.40V | 12.10V | < 11.90V |
| 36-Volt System Pack | 38.20V – 39.00V | 37.30V | 36.31V | < 35.70V |
| 48-Volt System Pack | 50.93V – 52.00V | 49.70V | 48.41V | < 47.50V |
If any single battery in a series string reads 0.2V to 0.4V lower than its neighboring batteries at rest, that battery is likely degraded or suffering from a shorted cell (a 6V battery reading around 4.0V points directly to a shorted cell). For more detail on static voltage testing, consult our guide on testing golf cart battery state of charge.
Step 3: Perform a Load Test to Evaluate Battery Performance Under Stress
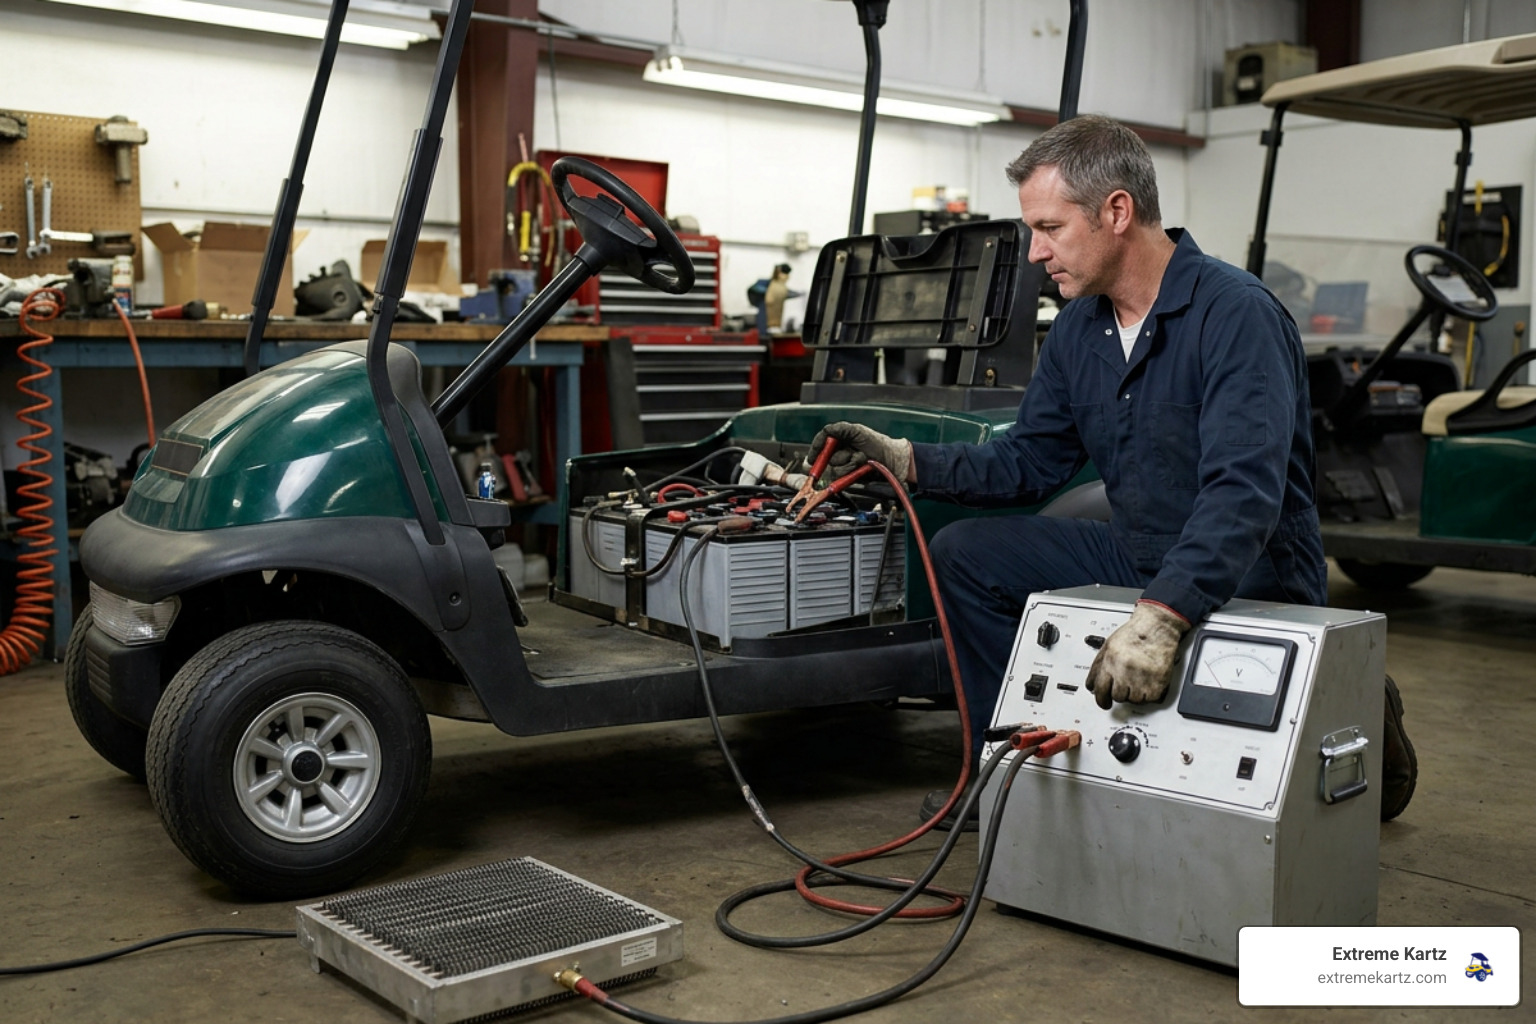
Resting voltage alone can be misleading. A damaged battery can hold a nominal surface voltage when sitting idle, only to drop in voltage under real demand—such as climbing a hill or carrying four passengers. Load testing reveals true operational capacity.
You can perform a load test using two methods:
- Carbon Pile / Resistor Load Tester: Attach the tester clamps directly to an individual battery's posts. Activate the load switch to draw current matching the battery's standard discharge rating for 15 seconds while observing the meter needle.
- In-Cart Field Load Test: Connect digital multimeter leads to an individual battery (or total pack), safely elevated on jack stands, or run long lead wires into the passenger space. Have an assistant drive the cart up a steep incline under full acceleration while you watch real-time voltage drop on the meter.
Load Test Voltage Limits When Checking Golf Cart Batteries
Under load, all deep-cycle batteries exhibit some voltage sag. The key is how far the voltage drops and how fast it recovers once the throttle is released:
- Healthy Response: An individual 6V, 8V, or 12V lead-acid battery drops between 0.2V and 0.5V under load and rapidly rebounds to its baseline resting voltage as soon as the load is removed.
-
Acceptable Minimums During 15-Second Carbon Load Test:
- 6-Volt Battery: Must maintain at least 5.0V.
- 8-Volt Battery: Must maintain at least 7.0V to 7.2V.
- 12-Volt Battery: Must maintain at least 9.6V to 11.0V.
- Failing Response: If an individual battery's voltage drops by 1.0V or more under load, or collapses by more than 50% of its nominal value, that battery has high internal resistance and needs replacement.
If one battery in your pack sags significantly lower than the rest during acceleration, it acts as a restriction in the circuit, choking power from the good batteries.
Step 4: Check Specific Gravity with a Hydrometer (Flooded Lead-Acid)
For flooded (wet cell) lead-acid batteries, testing liquid electrolyte density with a battery hydrometer provides an accurate look at chemical health. As a flooded battery charges, sulfuric acid separates from the lead plates and mixes into the water, raising the liquid's specific gravity. As it discharges, acid absorbs back into the plates, leaving mostly water.
To use a hydrometer properly:
- Put on your safety glasses and acid-resistant gloves.
- Remove the vent caps from each battery cell.
- Insert the hydrometer nozzle straight down into the electrolyte above the lead plates.
- Squeeze and release the rubber bulb to draw enough liquid into the barrel so the internal float rises freely without touching the top, bottom, or sides of the glass tube.
- Hold the hydrometer at eye level and read the number where the liquid surface intersects the float scale.
- Squirt the fluid back into the exact same cell from which it was drawn.
Key Diagnostic Metrics:
- Cell Variance Limit: Compare readings across all cells in your battery bank. A specific gravity variance of 0.050 (50 points) or more between any two cells indicates cell sulfation or failure in the lower reading cell.
- Electrolyte Discoloration: Clear fluid indicates clean plates. If fluid drawn into the hydrometer appears gray, brown, or murky, active lead paste has sloughed off the internal grids due to age or severe overcharging. This color change confirms the battery is near the end of its service life.
Step 5: Compare Lead-Acid vs. Lithium (LiFePO4) Battery Testing Protocols
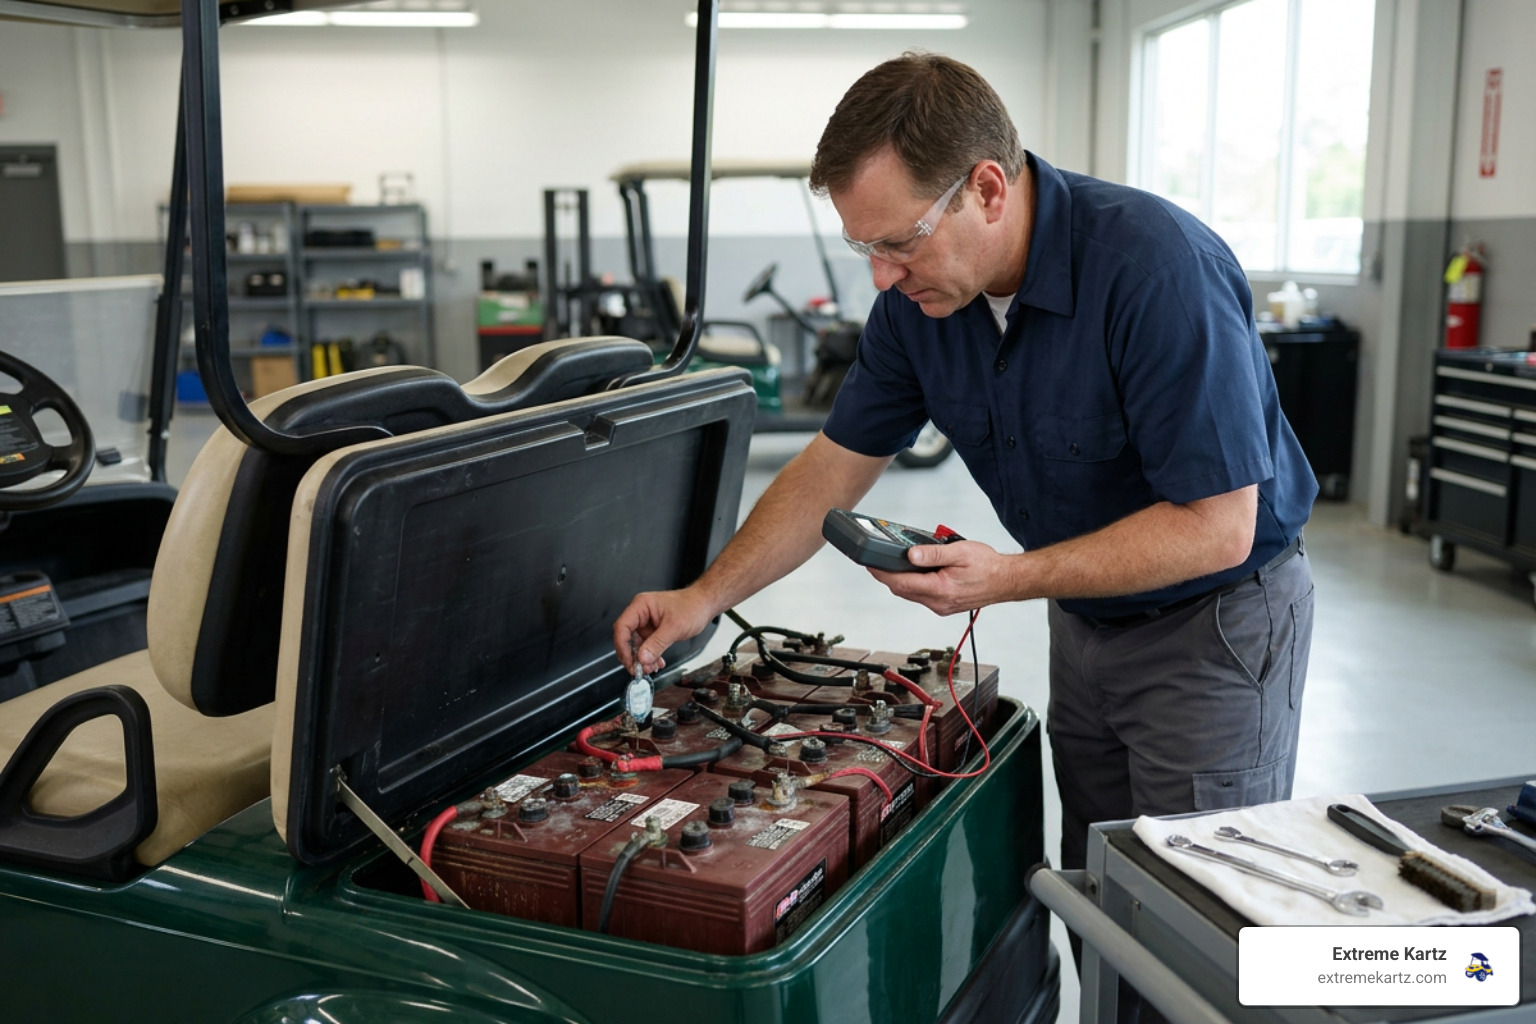
Traditional lead-acid batteries (flooded and AGM) and modern Lithium Iron Phosphate (LiFePO4) batteries behave differently, requiring different diagnostic approaches.
Because lithium batteries hold steady voltage right up until they are empty, static voltage testing with a basic voltmeter cannot reliably tell you state of charge. To evaluate lithium battery health:
- Connect via Bluetooth App: Premier golf cart lithium batteries feature internal smart BMS hardware that broadcasts real-time data to a smartphone app. You can monitor individual cell voltages, state of charge (SOC percentage), cycle count, operating temperature, and internal resistance without opening the seat.
- BMS Protection Reset: If a lithium battery suddenly reads 0 volts at the discharge terminal, the BMS has likely entered protection mode due to over-discharge, over-current, or extreme temperature. Disconnect the load, allow the pack to cool or warm to ambient temperature, and attach a compatible lithium charger to reset the BMS.
- Internal Resistance Assessment: Healthy LiFePO4 cells maintain internal resistance levels of ≤5 mΩ. Readings rising above 15 mΩ indicate cell degradation.
When considering a lithium upgrade, select approved, proven brands that integrate reliable BMS hardware and simple installation capabilities, such as Bolt Energy, Eco Battery, Lithium Rhino, and Bedrock Battery.
What Battery Failure Looks Like on the Service Bench
A few patterns come through our team often enough that they're worth calling out — because they're where most owners either misdiagnose the problem or throw money at the wrong fix:
- The one weak battery that drags the whole pack. A customer's cart loses noticeable range and crawls up hills, but four of the six batteries test fine at rest. The culprit is usually a single battery reading 0.2V–0.4V lower than its neighbors that then sags hard under load on the incline. On a series pack, that one restricted battery chokes power from the good ones — which is why we test every battery individually, not just total pack voltage.
- The "dead" lithium battery that isn't dead. A LiFePO4 pack suddenly reads 0 volts at the discharge terminal and the cart won't move, so the owner assumes the battery is finished. Nine times out of ten the BMS has simply tripped into protection mode from over-discharge or an extreme temperature swing. Letting the pack return to a normal temperature and attaching a compatible lithium charger resets it — no replacement needed.
- The "I put in one new battery and it still won't run right" call. Pairing a single fresh lead-acid battery with an aging set almost never works: the old units pull the new one down to their level. If the bank is 4–5 years old and failing load or hydrometer tests, the whole set has to go together.
Frequently Asked Questions About Checking Golf Cart Batteries
How often should golf cart batteries be checked and tested?
We recommend performing a quick visual inspection and water check every 2 to 4 weeks (or every 15 to 30 charge cycles). In warm climates where ambient temperatures exceed 90°F, water loss accelerates by 25% to 50%, requiring checks every two weeks. Conduct a full multimeter resting voltage and hydrometer test every 3 to 6 months.
What are the primary signs that a golf cart battery is failing and needs replacement?
Key warning signs include:
- Noticeably reduced driving range (e.g., struggling to complete 18 holes of golf).
- Sluggish acceleration, particularly when climbing hills or carrying passengers.
- Chargers running continuously for 12+ hours without shutting off, emitting a heavy sulfur smell.
- Resting individual battery voltages dropping 0.2V to 0.4V lower than neighboring units.
- Specific gravity readings showing a 0.050 variance between cells.
Should battery water be added before or after testing and charging?
Always add distilled water after charging. During charging, electrolyte fluid warms up and expands. If you top off cells prior to charging, the expanding fluid can overflow out of vent caps, losing acid and causing tray corrosion. The only exception is if internal lead plates are completely dry and exposed to air before charging; in that case, add just enough distilled water to cover the tops of the plates, charge the cart, and then top off to the proper fill level (1/4 to 1/2 inch above plates).
Upgrading Your Golf Cart Battery Health and Performance
Regular maintenance and timely diagnostic checks keep your golf cart running reliably and help protect your investment. Whether you are scrubbing terminal corrosion off traditional flooded batteries or analyzing voltage metrics under load, catching weak cells early prevents unexpected breakdowns on the course or around your neighborhood.
If your lead-acid pack is over 4 to 5 years old and routinely fails load or hydrometer tests, replacing individual batteries becomes a short-term patch. Combining old, worn batteries with a brand-new battery causes the older units to pull down the performance of the new one. In these cases, upgrading the full battery bank yields far better long-term reliability.
Switching to modern LiFePO4 lithium technology eliminates battery watering, messy terminal corrosion, and complex cell-by-cell hydrometer testing while shedding up to 300 lbs from your vehicle.
If you need guidance selecting compatible battery solutions, performance controllers, or charging systems tailored to your specific Club Car, EZGO, or Yamaha model, turn to our team at Extreme Kartz. We have a certified lithium technician on staff to assist with fitment inquiries and conversion planning. Explore technical resources and buyer guides at the Extreme Kartz Lithium Knowledge Center, or reach out to us directly for tailored technical advice.
About the Author
I'm Martin Davis, owner of Extreme Kartz. I've spent years helping golf cart owners across Club Car, E-Z-GO, and Yamaha platforms figure out whether a battery is worth saving or it's time to upgrade the whole bank. Everything in this guide reflects how our team actually tests and troubleshoots packs — and it's backed by our certified lithium technician on staff, who handles fitment and conversion questions for customers every week. When you're stuck between patching a tired lead-acid set and converting to lithium, that's exactly the kind of call we help owners make.
Note: All product specifications, catalog dimensions, and component prices mentioned are accurate as of publish date; please verify current specs and fitment options on specific product pages prior to ordering.
Related Products

Vendor: Eco Battery Charge Meter - 5V CAN LCD Kit w/cable

Vendor: 2" Round LCD Lithium Battery Meter Bracket Mount by Eco Battery

Vendor: 38v / 51V CAN Charger (Locking Quick Connect)

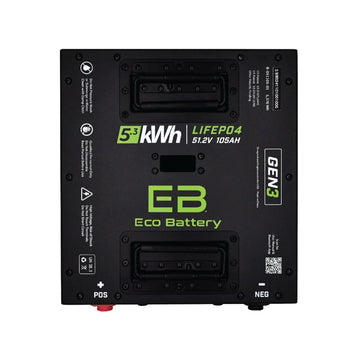
Vendor: 48V 105Ah GEN3 Eco Thru Hole Battery Individual


