


How to Change Golf Cart Batteries the Right Way
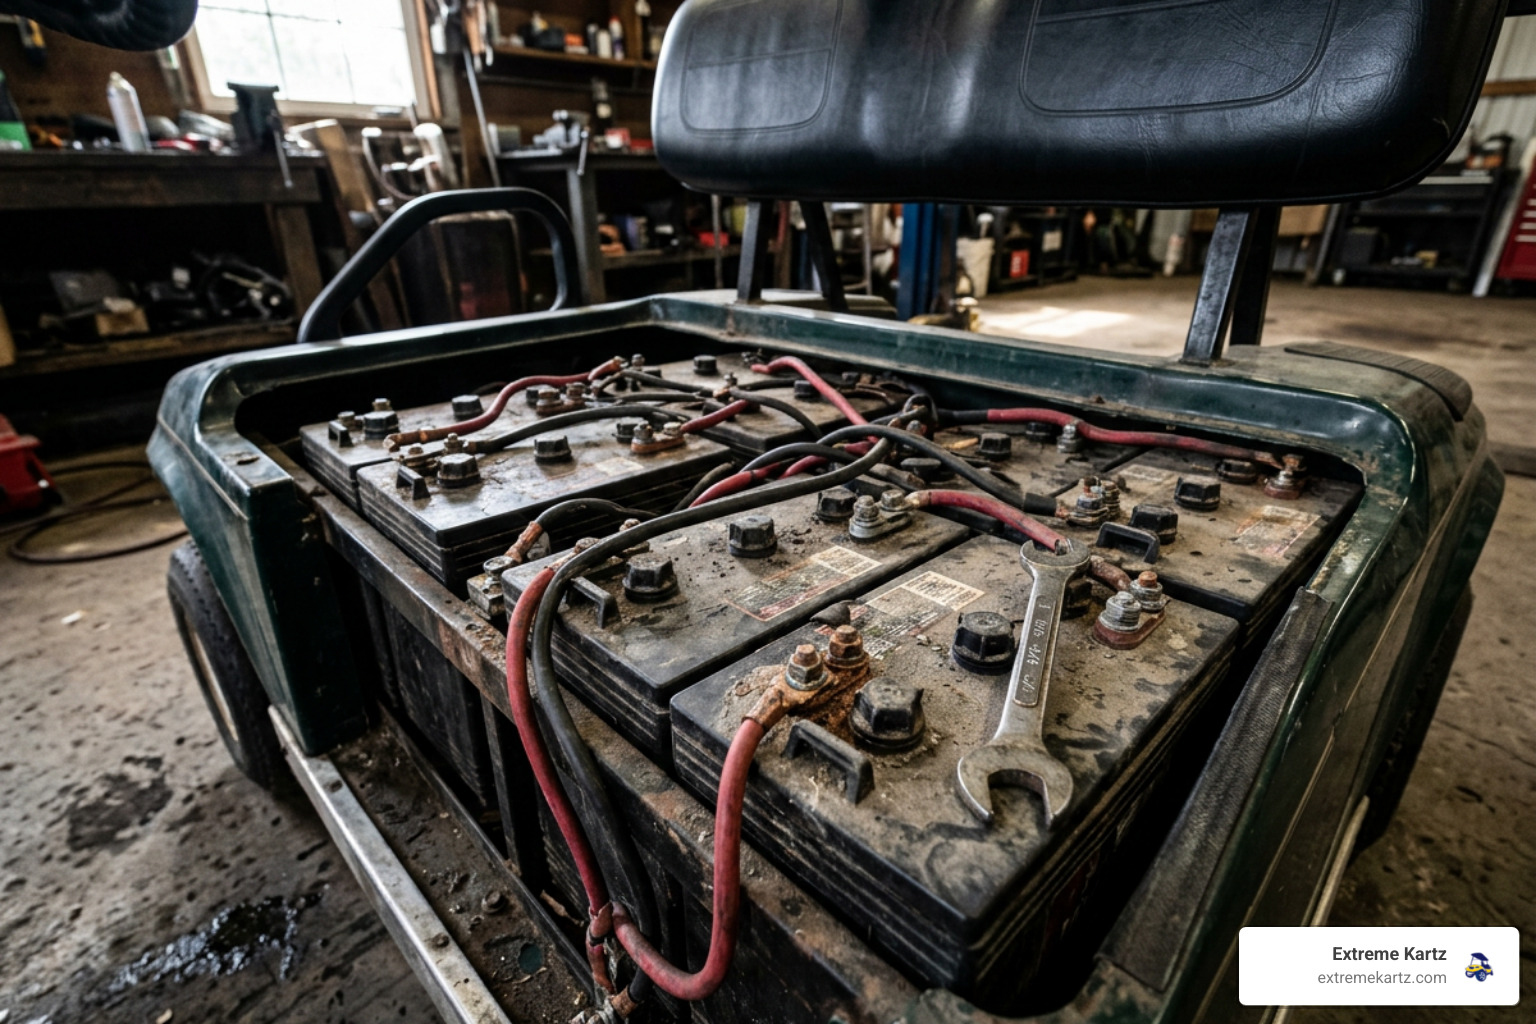
Changing golf cart batteries means more than lifting out old batteries and dropping in new ones. You need the correct battery type, total system voltage, wiring layout, and safe connection order. For most carts, the right approach is to replace the full matched battery pack, keep the original 36V or 48V system voltage, and fully charge the new pack before driving.
| Quick check | What it means |
|---|---|
| Cart loses range, struggles on hills, or charges for longer than usual | The batteries may be worn out |
| Batteries are about 4 to 6 years old | Replacement may be due, depending on care and use |
| One battery has failed in an older series pack | Replace the complete pack when possible |
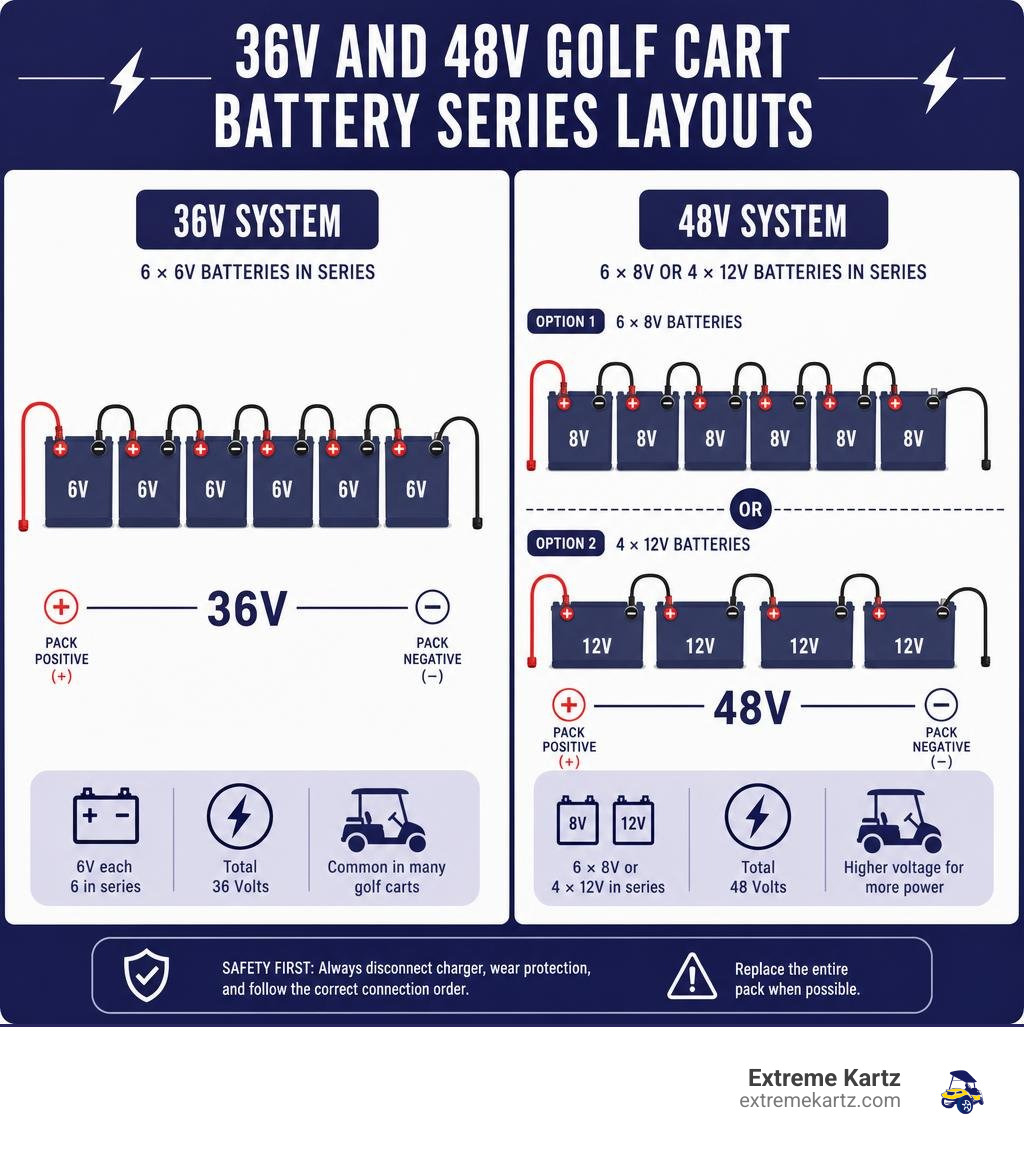
| Your cart uses six 6V batteries | It is usually a 36V system |
| Your cart uses six 8V or four 12V batteries | It is usually a 48V system |
Most golf cart packs use deep-cycle flooded lead-acid, AGM, gel, or lithium batteries connected in series. A healthy, fully charged 6V battery generally reads about 6.3 to 6.4 volts, while a fully charged 8V battery reads about 8.3 to 8.4 volts. Those small checks can help you spot a weak pack before a short neighborhood ride turns into a long walk home.
I am Martin Davis, owner of Extreme Kartz, and I work with manufacturers, technicians, and cart owners to make upgrades and maintenance decisions easier to understand. My experience with changing golf cart batteries includes helping owners evaluate lead-acid replacements, lithium conversions, fitment, and the practical details that support dependable cart performance.
Recognizing Battery Wear and Choosing Pack Replacements
Recognizing when your batteries are nearing the end of their operational lifecycle saves you from getting stranded in the middle of a neighborhood run or a round on the course. Standard flooded lead-acid golf cart batteries generally last between 4 and 6 years under normal usage and charging habits. However, age is not the only factor. Sluggish acceleration, difficulty climbing moderate inclines, and noticeably reduced driving range are clear physical signs that your battery pack is losing capacity.
Diagnosing electrical wear requires observing how the pack handles a dynamic load. When you step on the accelerator, a healthy system maintains steady terminal output. Worn batteries suffer significant voltage drops under load, causing the cart speed to stall or the motor controller to cut power prematurely. A fully charged 6-volt battery should rest at 6.3 to 6.4 volts, and an 8-volt battery should rest around 8.3 to 8.4 volts. If your multimeter records resting readings below these thresholds after a complete charge cycle, your cell chemistry has deteriorated.
System voltage plays a major role in overall efficiency and replacement dynamics:
- 36V Systems: Typically utilize six 6-volt batteries linked in series. These systems generally cruise around 10 to 12 mph and are standard on older or basic utility carts.
- 48V Systems: Utilize six 8-volt batteries or four 12-volt batteries. A 48V system draws approximately one-third less amperage than a 36V cart to deliver equal power, making it far more efficient for street-legal use, carrying heavy passenger loads, or navigating hilly terrain.
Understanding these structural differences helps you budget for maintenance accurately.
Should You Replace All Batteries at Once or Just One?
When a single battery in a pack fails, it is tempting to replace only that individual unit to save money upfront. However, swapping a single battery in a series connection creates serious performance and longevity issues.
Golf cart battery chargers operate by sensing the total resistance and voltage of the entire bank. In a mixed pack, the older, degraded batteries have higher internal resistance and lower capacity. The smart charger will continue driving current to bring the older batteries up to full charge, inadvertently overcharging and overheating the new unit. Conversely, during discharge, the newer battery will drain at an accelerated rate trying to support the higher load of its weaker companions.
This imbalanced power distribution causes rapid degradation of your new battery, effectively neutralizing your investment. Replacing all batteries simultaneously ensures identical internal resistance, uniform charge acceptance, balanced energy delivery, and optimal long-term cost efficiency.
Tools and Gear Needed for Changing Golf Cart Batteries
Working with high-amperage electrical systems and heavy lead-acid batteries requires proper preparation and personal protection. Lead-acid batteries contain sulfuric acid electrolyte and produce flammable hydrogen gas during charging.
Before starting your battery replacement project, gather the following essential tools and safety gear:
- Safety Goggles and Face Shield: Protects eyes from potential chemical splashes and electrical arc sparks.
- Acid-Resistant Rubber Gloves: Prevents skin contact with corrosive battery acid or surface residues.
- Socket Wrench Set: Typically 1/2-inch and 9/16-inch insulated sockets to safely loosen hold-down brackets and cable terminal nuts without causing short circuits across terminals.
- Heavy-Duty Battery Lifting Strap: Attaches to built-in battery molding lugs, allowing you to lift 60-to-80-pound batteries safely out of deep compartments without straining your back.
- Wire Brush and Terminal Cleaner: Cleans accumulated lead sulfate and oxidation from wire eyelets and connectors.
- Baking Soda and Water Solution: A mixture of one cup baking soda per gallon of water to neutralize spilled battery acid and clean tray residue.
- Digital Multimeter: Measures individual battery resting voltages and total pack voltage post-installation.
Step-by-Step Removal and Installation Process
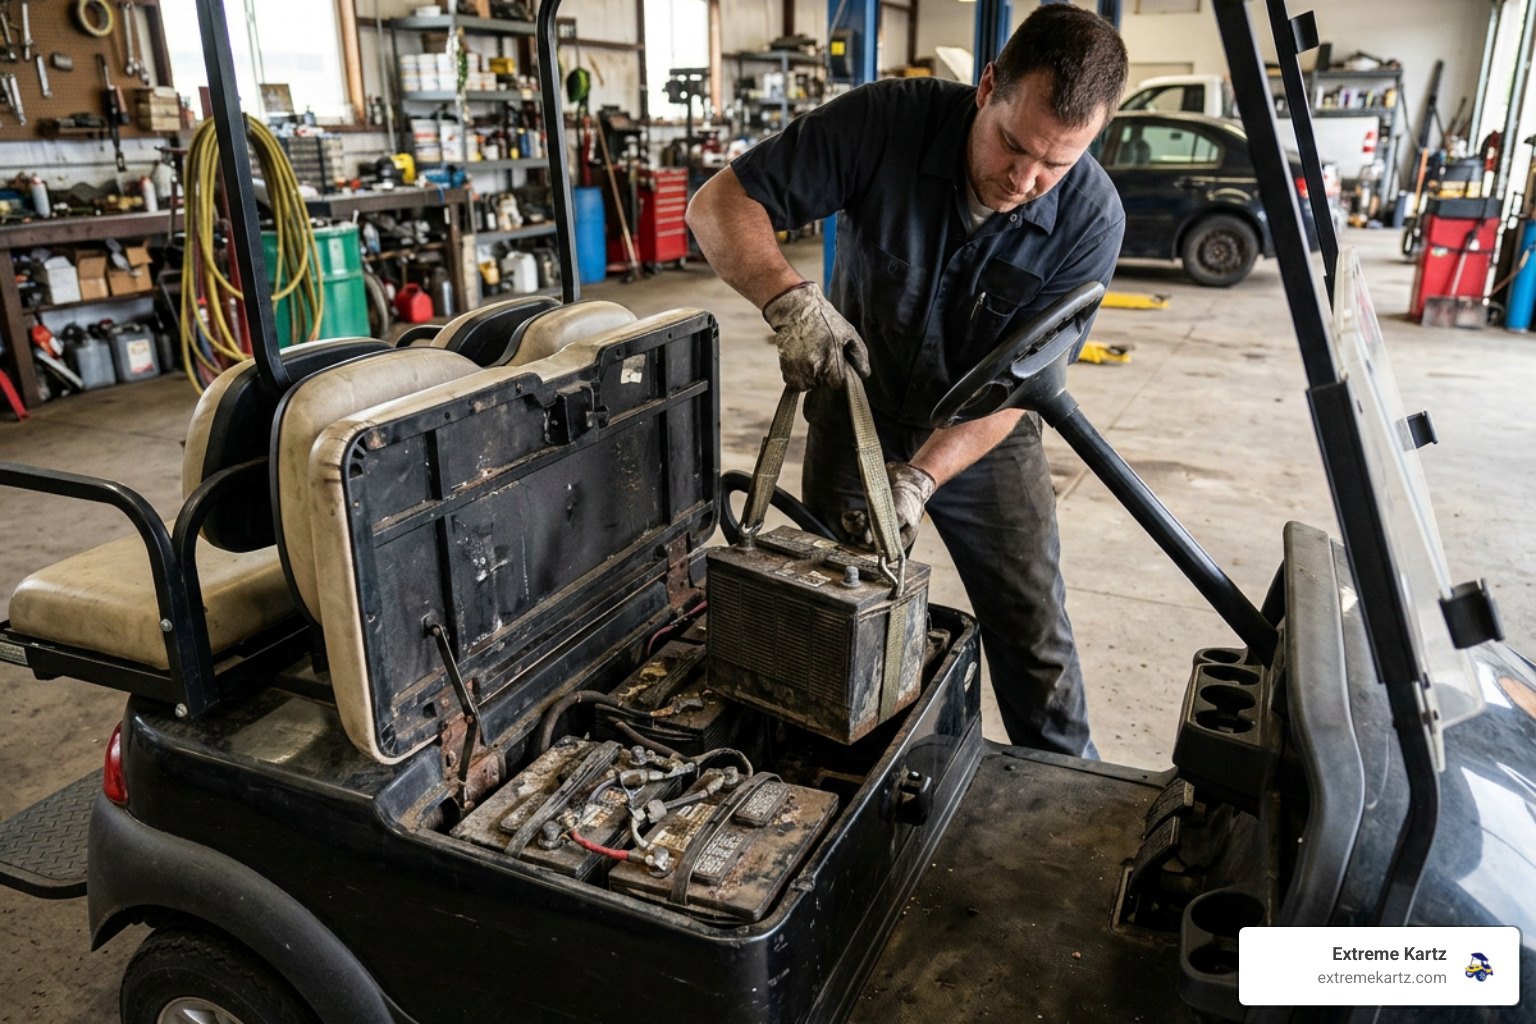
Replacing your golf cart battery bank requires a systematic approach to ensure physical safety and preserve your cart's electrical hardware. Follow this structured process from extraction through physical cleanup and mechanical installation.
Removing Old Batteries Safely
Safety must remain your top priority when extracting old batteries. Always follow this exact removal sequence:
- Power Off the Cart: Turn the key switch to the "OFF" position, set the Tow/Run switch, if equipped, to "TOW," and remove the key.
- Disconnect the Main Negative Cable: Locate the main negative cable that connects the battery bank to the cart's motor controller or frame ground. Disconnect this primary cable first using your insulated socket wrench. Removing the main negative connection breaks the complete high-voltage circuit, drastically reducing the risk of accidental electrical shorts or sparks while working on intermediate cables.
- Disconnect the Main Positive Cable: Disconnect the primary cable leading to the main solenoid or fuse block.
- Remove Series Cables and Hold-Down Brackets: Unbolt the series interconnecting cables linking individual batteries, taking care not to bridge positive and negative posts with a tool. Remove the metal or plastic hold-down brackets securing the batteries to the tray.
- Lift Out Old Batteries: Attach your heavy-duty battery lifting strap onto the molded lifting nubs of each casing. Carefully lift each unit straight up and out of the battery tray, keeping them upright to prevent electrolyte leaks.
- Neutralize and Clean the Battery Tray: Scrub the battery tray using your baking soda and water mixture with a wire brush to neutralize leftover acid deposits. Rinse thoroughly with clean water and allow the area to dry completely before installing new hardware to stop tray corrosion.
Step-by-Step Instructions for Changing Golf Cart Batteries
Proper orientation and clear series wiring are essential when setting up your new battery bank.

- Orient New Batteries: Carefully lower each new battery into the cleaned tray using your lifting strap. Ensure all batteries are oriented identically according to your original layout photo or manual, with terminal posts positioned correctly to receive interconnecting cables without excessive strain.
- Secure Hold-Down Brackets: Reinstall hold-down brackets and tighten them firmly to prevent battery movement during cart operation, taking care not to crush plastic casings.
- Wire in Series Connection: Connect individual batteries in series to achieve the correct system output voltage. Run interconnecting jumper cables from the positive (+) terminal of the first battery to the negative (-) terminal of the adjacent unit. Repeat this across all batteries in the bank (e.g., six 6V batteries in series yield 36V total; six 8V or four 12V batteries in series yield 48V total).
- Connect Main Terminal Cables: Connect the main positive (+) lead to the main positive post of the first battery in the series chain. Finally, reattach the main negative (-) lead to the main negative post of the last battery in the series chain.
Terminal Protection and Testing After Changing Golf Cart Batteries
Once all physical connections are tightened securely, complete these important post-installation verification steps:
- Apply Terminal Protection: Spray terminal corrosion inhibitor or coat all exposed metal posts and wire ring terminals with petroleum jelly to seal out moisture and environmental oxygen.
- Perform Initial Multimeter Testing: Touch your multimeter probes across the main positive and negative posts to check overall series voltage. A freshly installed 36V lead-acid bank should display approximately 38 volts, while a 48V bank should show approximately 50 to 51 volts prior to charging.
- Execute Full Initial Charge: Connect your golf cart charger and allow the new battery pack to go through an entire uninterrupted charge cycle before taking your cart out on its first drive. Initial full charging balances chemical activity across all individual cell plates.
To maintain optimal battery health over the coming years, always follow manufacturer recommendations for maintenance and charging schedules.
Converting from Lead-Acid to Lithium-Ion Batteries
Many golf cart owners transition from traditional flooded lead-acid battery packs to advanced Lithium Iron Phosphate (LiFePO4) power systems. Switching to lithium offers significant performance advantages, including up to 5,000 charge cycles, zero fluid topping maintenance, faster charging, sustained acceleration up to full discharge, and a weight reduction of up to 300 pounds. For the full math, read how much a lithium conversion costs.
When planning a lithium conversion, select systems built specifically for golf cart usage from trusted brands. Kits feature a 1-3 business day handling window. Extreme Kartz works directly with industry-leading manufacturers and stocks each brand on-site: Bolt Energy, Eco Battery, Lithium Rhino, and Bedrock Battery.
Key technical considerations during a lithium upgrade include:
- Cart-Specific Fit: Many lithium conversion kits are built to fit factory battery trays, but fitment varies by cart. Some install with a near drop-in footprint, while others use a brand-specific mounting bracket or tray kit. Always confirm the correct kit for your exact cart make, model, and year before ordering.
- Dedicated Lithium Charger: Lithium batteries require specialized charging profiles to manage cell balancing safely. Never connect a standard lead-acid charger to a lithium battery pack.
- Integrated Battery Management System (BMS): Quality lithium batteries feature an internal BMS that actively protects cells against over-charging, short circuits, low-temperature charging, and over-discharging.
- Voltage Reducer Requirements: Because lithium battery voltages remain consistently high throughout their discharge curve, running 12V accessories directly off individual lithium cells is not recommended. Instead, install a dedicated DC-to-DC voltage converter.
Our catalog includes purpose-built options in our voltage reducers collection to power lighting and accessories safely:
- Eco Battery Universal 12V Converter 48V–72V (SKU A-1272): Handles high-voltage inputs smoothly.
- Eco Battery 12V Converter for 36V (SKU A-1236): Delivers stable 12V accessory power for 36V cart setups.
- Bolt 50-Amp HD DC/DC 36/72V Reducer (SKU BE-50AMPR72): Features a robust 50A output across wide 36V to 72V inputs.
- Bolt 48V/36V→12V High Output Reducer (SKU 33-006): Offers reliable 30A continuous output for high-draw accessory setups.
- Reliance 30 Amp DC Converter 48/36→12V (SKU 13-030): Provides steady 30A performance across standard 36V/48V platforms.
For high-voltage setups such as 72V golf cart systems, packs are typically supplied as a single 105Ah unit rather than several smaller batteries. Confirm the exact capacity and configuration on the product listing for your cart.
To explore system compatibility and hardware details, read More info about golf cart lithium upgrades. Extreme Kartz has a certified lithium technician on staff to answer complex installation questions and verify system configurations before purchase.
Proper Maintenance and Eco-Friendly Battery Disposal
Proper routine maintenance maximizes the operational life of your newly installed golf cart battery bank. For a deeper routine, see our guide to golf cart battery maintenance.
If you installed flooded lead-acid batteries:
- Check Water Levels Weekly: Inspect water levels after charging. Maintain fluid levels above the internal lead plates, filling exclusively with pure distilled water. Never add tap water, as mineral contents cause plate contamination.
- Prevent Sulfation: Charge lead-acid packs after every major use. Leaving lead-acid batteries in a partially discharged state accelerates lead sulfate crystal buildup on internal plates, permanently shrinking battery capacity.
Proper disposal of old lead-acid batteries is legally required and environmentally necessary — see our golf cart battery recycling guide for details. Lead-acid batteries contain chemical elements that must be isolated from municipal waste streams:
- Environmental Compliance: Lead and sulfuric acid pose significant toxicity risks to groundwater and soil if dumped improperly.
- Authorized Recycling Centers: Transport old batteries to certified metal recycling depots or automotive parts retailers equipped for hazardous waste handling. Nearly 99% of lead-acid battery components are recyclable into new energy products.
- Core Return Credits: Many battery retailers offer core exchange credits when you hand over old units at the time of purchasing replacement banks, reducing your overall project costs.
Frequently Asked Questions about Golf Cart Battery Replacement
What are the main signs that my golf cart batteries need replacement?
Key indicators include a noticeable reduction in drive range, slow hill-climbing acceleration, charge times lasting over 12 hours, and total pack voltage dropping dramatically under throttle. Visual cues like swollen casing walls or recurring heavy white powder buildup on terminals also point to internal cell degradation.
Can I swap lead-acid batteries for lithium without modifying my cart?
Often, but it depends on your cart. Some lithium kits install into the factory battery tray with little or no modification, while others require a cart-specific bracket or tray kit. In every case you must use a lithium-compatible charger, confirm the battery's BMS suits your setup, and match total system voltage to your cart's motor controller rating. All dimensions and prices listed online are accurate as of publish; check the specific product listing to verify fitment for your exact cart model.
How do I safely dispose of old lead-acid golf cart batteries?
Take your old lead-acid units directly to an authorized automotive store or scrap recycling facility. Never dispose of battery components in residential trash bins. Returning old batteries as cores during your new purchase often yields financial core credits while ensuring complete environmental compliance.
About the Author
Martin Davis is the owner of Extreme Kartz, a specialist golf cart parts and accessories retailer. He works directly with battery manufacturers, certified technicians, and cart owners to make upgrade and maintenance decisions easier to understand. Extreme Kartz keeps a certified lithium technician on staff to verify system configurations and answer installation questions before purchase.
Conclusion
Changing golf cart batteries properly requires matching total pack voltage, selecting high-quality chemistry, maintaining clean cable connections, and following safe installation steps. Whether you choose reliable deep-cycle lead-acid units or convert to high-performance lithium technology, upgrading the complete pack ensures balanced energy distribution and protects your motor controller from harmful voltage dips.
Explore our full inventory for More info about golf cart accessories. At Extreme Kartz, our team is dedicated to eliminating buyer confusion and helping you select exact-fit performance upgrades. With a certified lithium technician on staff, we provide expert guidance to assist with system matching, wiring configurations, and post-purchase installation questions. All order processing features a 1-3 business day handling window, typical transit times of 3-7 business days after handling, and free ground shipping on orders over $100 within the continental United States, with freight transit and oversized-item lead times confirmed at checkout. Contact us today to ensure your golf cart delivers long-lasting power and smooth performance on every drive.
Related Products


Vendor: Eco Battery 48V 105Ah Thru-Hole Bundle - Select your Cart


Vendor: Bolt Energy 48V 105Ah MINI Golf Cart Lithium Battery Bundle - Professional or Standard Kit


Vendor: Lithium Rhino 48V 105AH Bundle

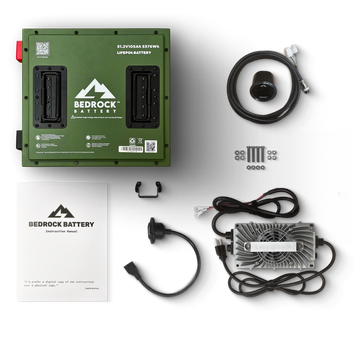
Vendor: Bedrock Battery Compact 48V 105Ah Lithium Conversion Kit


