


The Complete Guide to Christmas Lights for Your Golf Cart
Types of Lights for Your Holiday Golf Cart
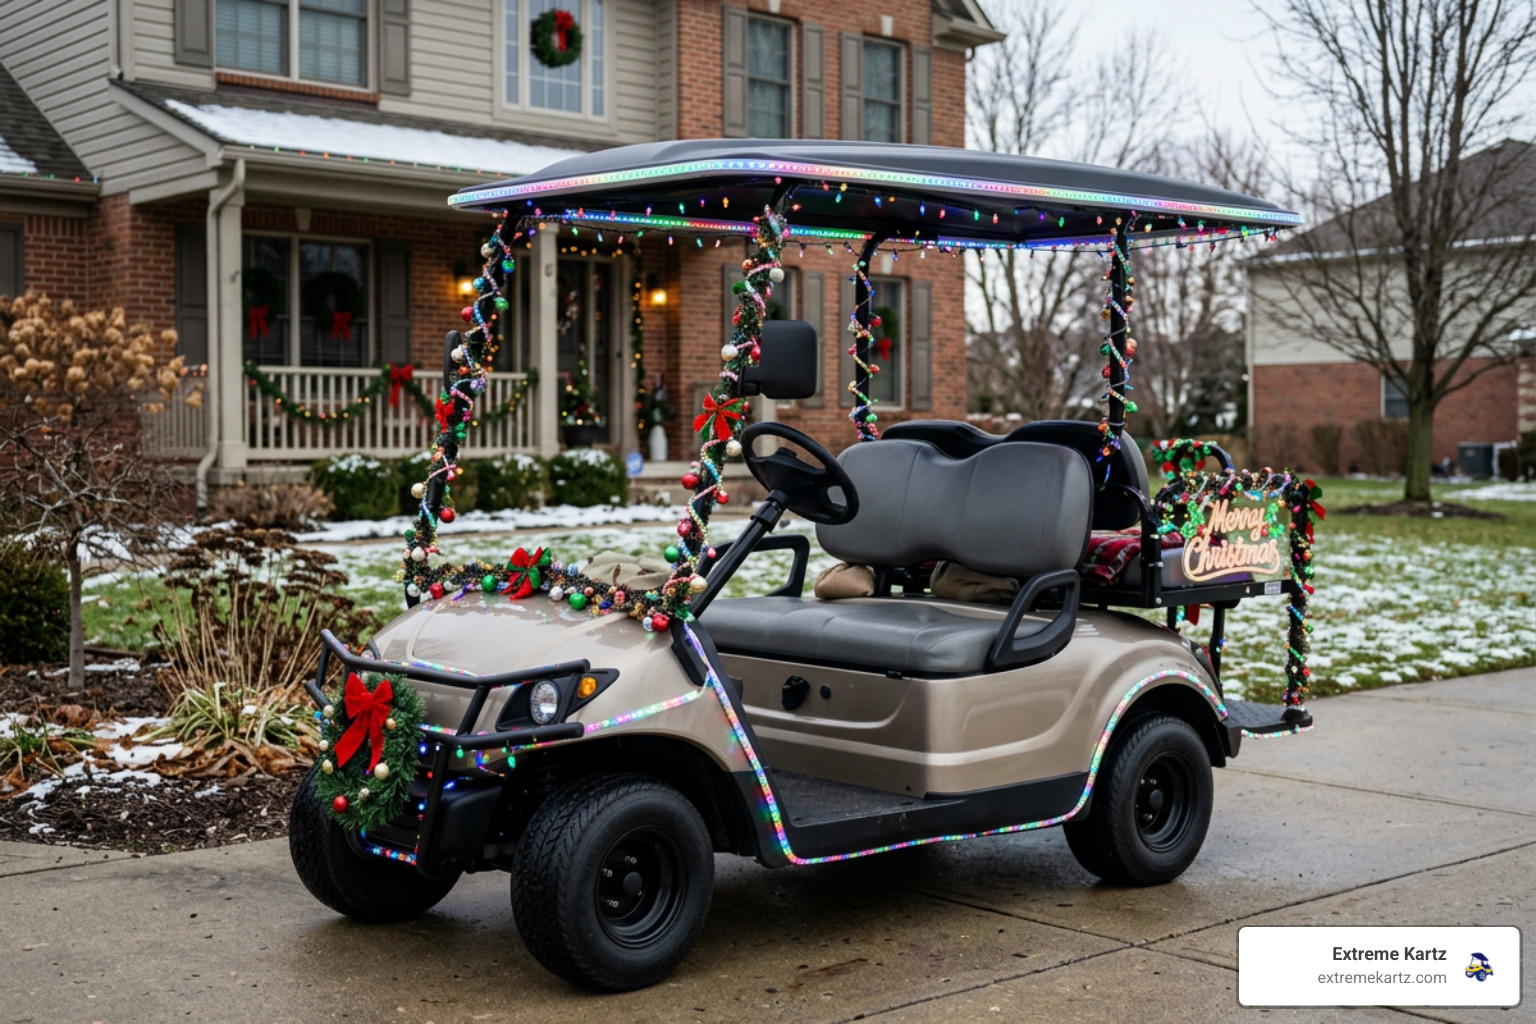
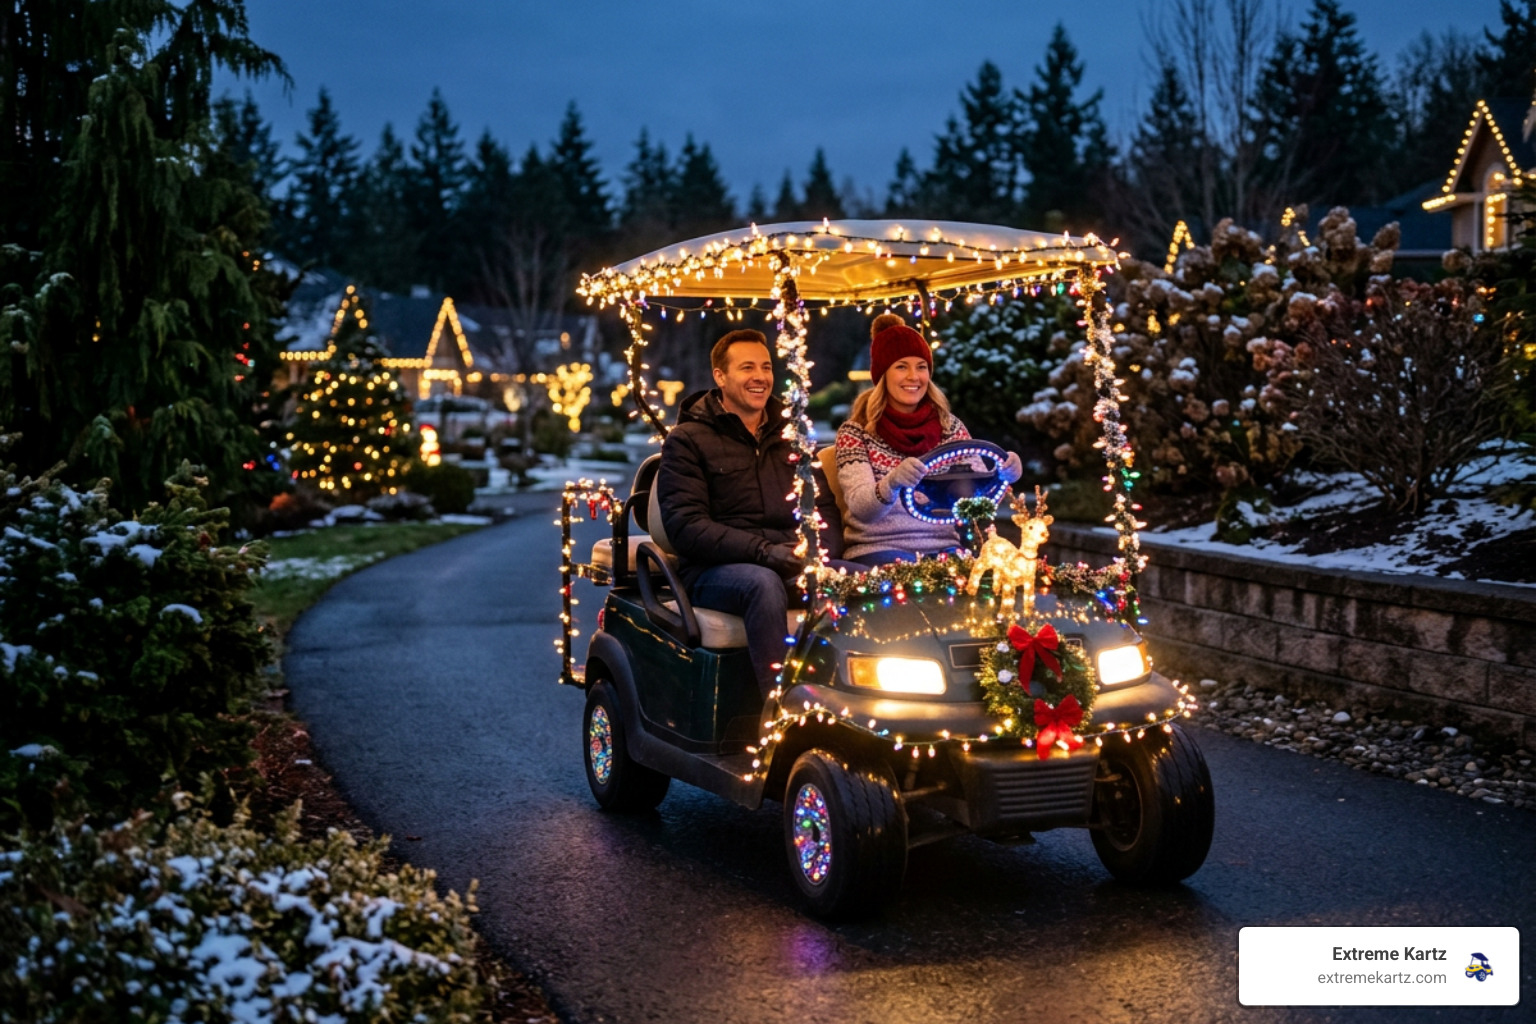
Selecting the right christmas lights for a golf cart comes down to balancing brightness, power compatibility, and ease of mounting. Because a golf cart relies on stored battery power rather than a continuous household power outlet, energy efficiency is paramount.
Standard options include 12V DC LED strings, 120V AC household lights, USB-powered accent strips, and battery-operated fairy lights. Modern LED technology is heavily favored over traditional incandescent bulbs due to its extremely low power draw and high resistance to road vibration.
When selecting custom ambient lighting, options like 20-foot, cut-to-fit LED light strips offer complete coverage along cart rooflines and side rocker panels. These flexible strips are available in single-color, RGB (red, green, blue), and RGBW (red, green, blue, warm white) variants. RGBW strips provide enhanced color purity, allowing you to alternate between rich festive greens, deep reds, and crisp whites for holiday displays.
Advantages of Low-Voltage 12V DC Christmas Lights for a Golf Cart
Low-voltage 12V DC LED Christmas lights are the top choice for vehicle installations. Standard automotive systems and golf cart accessory circuits supply 12V DC natively. By choosing 12V DC LED string lights, you eliminate the need for a power inverter, simplifying the overall electrical layout.
- Minimal Amperage Draw: 12V DC LED strings draw a fraction of the power required by traditional bulbs, keeping battery drain low during extended neighborhood drives.
- Daisy-Chaining Capacity: Up to 30 sets of low-voltage 12V LED string lights can be safely connected end-to-end from a single power source due to their minimal amp draw.
- Heat Safety: LED lights operate at low temperatures, eliminating the risk of melting plastic trim, body panels, or vinyl golf cart enclosures.
- Vibration Resistance: Solid-state LED components handle bumps, dips, and frame vibration far better than delicate glass filaments.
Using 120V AC Household String Lights
If you already own traditional 120V AC household Christmas lights, you can still use them on a golf cart by installing a DC-to-AC power inverter. The inverter converts 12V DC power from your accessory circuit into the standard 120V AC current required by home plug-in lights.
When using an inverter, verify its continuous wattage rating exceeds the total wattage of your light strands. For instance, if running three 40-watt light strands, select an inverter rated comfortably above 120 watts (such as a 200W or 400W unit) to prevent thermal overload.
Always plug the inverter into a proper 12V DC source that is fed through a voltage step-down reducer, rather than wiring directly to higher-voltage battery terminals. Dedicated aftermarket golf cart light kits or low-voltage LED strings offer better energy conversion efficiency than running standard house lights through an inverter.
How to Safely Power Golf Cart Holiday Lights
Powering holiday lights requires understanding how your golf cart manages electrical current. Gas golf carts feature a standard 12V starter battery that powers low-voltage accessories directly. Electric carts, however, utilize 36V, 48V, or 72V main battery packs designed primarily to drive the traction motor.
Plugging a 12V light strand directly into a 36V or 48V terminal will instantly destroy the lights. Conversely, tapping across just one or two batteries in a series pack causes severe battery pack imbalance, uneven charging, and premature pack failure.
To power 12V accessories safely on electric models, install a dedicated step-down converter from our golf cart voltage reducers selection to step down the pack's primary voltage to a stable 12V DC output across all batteries evenly.
Voltage Step-Down Converters for Electric Carts
A voltage reducer draws current across the entire battery bank evenly, stepping high voltage down to 12V DC to keep all individual battery cells balanced.
When choosing a reducer, ensure its output capacity matches your planned accessory load. A 30A reducer, such as the Reliance 13-030 or Bolt 33-006, provides generous headroom for running high-output light displays, audio equipment, and standard driving lights simultaneously. Always incorporate an inline fuse on the 12V supply wire to protect your wiring harness from short circuits.
Integrated light packages, such as the MadJax Ultimate Plus light kit, feature built-in voltage reducers operating on 12V–48V systems directly. Dimensions, features, and pricing are accurate as of publish; check specific product listings to confirm exact specifications for your cart model.
Battery Protection and Runtime Management
Calculating amp-hour draw helps ensure your golf cart retains plenty of power for driving throughout long evening parades. To estimate runtime impact:
- Find the total wattage of your festive lighting displays (e.g., 24 Watts total).
- Divide total wattage by operating voltage (12 Volts) to calculate amperage draw (24W / 12V = 2 Amps).
- A 2-amp accessory load running for a 2-hour parade consumes just 4 Amp-Hours (Ah) of battery energy.
Because high-efficiency LED lights draw very few amps, running them for several hours has minimal impact on a healthy lead-acid or lithium battery pack (such as systems from Eco Battery or Bolt Energy). However, perform a static light test in your driveway prior to parade night to confirm all connections stay cool and fuses remain intact.
Step-by-Step Installation: Securing Christmas Lights for a Golf Cart
Installing christmas lights for a golf cart requires a secure, weather-resistant layout that keeps mounting hardware from scratching the vehicle's paint or clear coat.
| Mounting Hardware | Best Surface Placement | Pros | Cons |
|---|---|---|---|
| Heavy-duty zip ties | Roof struts, grab bars, aluminum frame | Holds securely in cold weather and wind | Requires trimming; can scratch paint if overtightened |
| Blue painter's tape | Painted body panels, fiberglass cowls | Easy removal, protects clear coat paint | Temporary hold; degrades when wet |
| Removable adhesive clips | Smooth plastic trim, canopy undersides | Clean appearance, tool-free installation | Requires thorough surface preparation |
| Hook-and-loop straps | Roof supports, seat armrests | Reusable, quick adjustments | Can shift over rough terrain |
Preparing the Surface and Roof Mounting
Before attaching any clips or light strands, wipe down all mounting surfaces using isopropyl alcohol and a clean microfiber cloth. Removing road dirt, wax, and surface grease ensures adhesive backing strips hold firmly.
When running light strings along the canopy, route them clear of the driver's forward line of sight. Never attach light strands across the front perimeter of the roof, as downward glare reflects off windshields and impairs night vision.
If you are mounting flexible light strips along a flexible plastic roof, rivet or screw lightweight aluminum or rigid plastic flat bar stock to the canopy structural points first. Attaching light strips onto rigid flat stock insulates delicate solder joints from breaking as the plastic canopy flexes over rough bumps.
Wiring Connections and Pre-Drive Testing
Once the lights are anchored to the frame, route all power cords cleanly along structural struts toward your 12V power supply or fuse block.
- Cable Routing: Secure loose wiring along roof supports using zip ties spaced every 6 to 8 inches. Keep all wires away from steering shafts, brake linkages, accelerator pedals, and tires.
- Fuse Block Connection: Connect positive and ground leads into an open circuit on a 12V fuse block equipped with an appropriately sized inline fuse (typically 5A to 15A depending on load).
- Static Testing: Switch the lights on while parked in a dark space. Inspect the layout from the driver's seat to verify zero light glare interferes with forward visibility.
- Low-Speed Test Drive: Drive slowly down your driveway or street to ensure vehicle vibration does not shake light strands loose or allow wires to dangle near moving components.
Creative Decorating Themes and Parade Preparation
Parades and holiday cruises are a staple in golf cart-friendly communities and campgrounds. Transforming your cart into a festive parade entry starts with selecting a cohesive visual theme.

- Candy Cane Lane: Wrap roof struts with red and white outdoor ribbon, string crisp white and red LED lights around the roofline, and attach oversized decorative candy canes to the rear grab bar.
- Gingerbread House: Decorate roof edges with white garland to mimic frosted eaves, accent with warm yellow lights, and install brown cardboard cutouts along side body panels.
- Whoville Grinch Cart: Utilize green LED string lights, green underbody glow, and place a stuffed plush Grinch character in the rear seat facing trailing cart drivers.
- Santa's Sleigh: Attach faux reindeer to the front cowl, drape red velvet trim around side panels, and load the rear seat platform with wrapped decorative gift boxes.
While decorating, maintain full street-legal functionality and safety compliance:
- Headlight and Taillight Clearance: Keep primary factory driving lights completely unobstructed by garland, ribbons, or props.
- Brake Signal Visibility: Ensure rear brake lights remain clearly visible to trailing traffic.
- Mirror and Line-of-Sight Access: Keep side mirrors and forward sightlines free of bulky decorations.
- Passenger Restraints: Never allow props or garlands to block handholds, grab bars, or rear seat footrests.
Troubleshooting Common Holiday Lighting Issues
When electrical glitches crop up during holiday rides, systematically checking power connections isolates the problem quickly:
- Flickering Lights: Flickering usually stems from loose plug connections or unstable ground wires vibrating against the chassis. Tighten wire terminals, secure loose plugs with electrical tape, and ensure wire bundles are strapped down securely.
- Blown Fuses: If a fuse blows instantly upon switching lights on, inspect the entire wire length for pinched insulation, exposed copper touching metal frames, or short circuits. Confirm total lighting amp draw does not exceed fuse rating limits.
- Inverter Shutdowns: If a 120V AC power inverter shuts down during operation, check its internal thermal indicator. Inverters require adequate airflow; placing an inverter in an enclosed dashboard pocket or under-seat compartment can cause thermal shutoff.
- Moisture Intrusion: Rain or heavy night dew can short unsealed plug connections. Wrap all outdoor plug junctions with silicone electrical tape or weather-resistant heat-shrink tubing.
After the holiday season concludes, remove all temporary mounting clips carefully. Clean light strands before coiling them to prevent kinks, and store all electrical components in a dry storage container.
Frequently Asked Questions About Holiday Golf Cart Lights
Can I plug standard home Christmas lights for a golf cart directly into the battery?
No. Standard household Christmas lights operate on 120V AC current, whereas golf cart battery banks supply DC current (12V, 36V, 48V, or 72V DC). Plugging household lights directly into battery terminals will result in electrical failure. To run 120V household lights, power a 12V-to-120V AC inverter through a safe 12V power circuit or voltage step-down converter.
How do I calculate battery drain when running lights during long parades?
Calculate amperage draw by taking total light wattage and dividing by operating voltage (12V DC). For example, a 36-watt LED display draws 3 amps (36W / 12V = 3A). Running that display during a 3-hour parade consumes 9 Amp-Hours (3A x 3 hours = 9Ah). Since typical golf cart battery packs deliver 100Ah to 200Ah capacity, low-voltage LED lights draw a negligible percentage of total power.
What is the best way to attach lights without damaging paint?
Use painter's blue tape for short temporary parade events, or apply removable outdoor Command adhesive clips on clean, smooth plastic surfaces. Zip ties secured around structural metal roof supports and grab bars offer high strength without contacting painted body panels. Avoid using hot glue or heavy industrial duct tape directly on painted fiberglass or clear-coated cowls.
Practical Setup for Holiday Cruises
Installing christmas lights for a golf cart is an enjoyable project that brings instant seasonal cheer to neighborhood cruises and holiday parades. By selecting energy-efficient 12V LED lights, installing a quality voltage step-down converter on electric carts, and securing every wire away from mechanical components, you protect your golf cart's electrical system while creating a stunning visual display.
Whether you need a heavy-duty voltage reducer, high-output lighting upgrades, or customized body components to complete your festive build, we are here to help. Reach out to our technical team at Extreme Kartz for expert guidance on fitment, wiring compatibility, and system setup for your specific golf cart model.
Check out our full selection of golf cart accessories to find everything you need for safe, reliable holiday lighting configurations.
About the Author
This guide was written and reviewed by the Extreme Kartz technical team, including a certified lithium technician on staff. Extreme Kartz has outfitted thousands of golf carts with lighting and 12V accessory systems and ships parts nationwide from our warehouse in Tyrone, GA. Our team works with these voltage reducers, light kits, and battery systems every day, so the wiring, amp-draw, and fitment guidance above reflects real installs — not spec-sheet theory. Questions about your specific cart? Reach our technical team before you buy.


